
Project name: Kawazaki Z650 "Penchérisation"

The Project
The goal of this project is to transform at a reasonable price a 1981 Kawazaki Z650 into a nice small machine on the theme of the Café Racer or perhaps something else following my inspiration of the moment.
As you may know it's not my first attempt as I already tried to complete a similar project but more ambitious some years ago with a CX500.
A big work of aesthetic and mechanic is to be expected to transform this old and rusty grandma into a sexy teenager :)
A really long project on which I'll put a lot of energy but which will also be punctuated by pauses due to my child, Moto GPs and RC aerobatics.
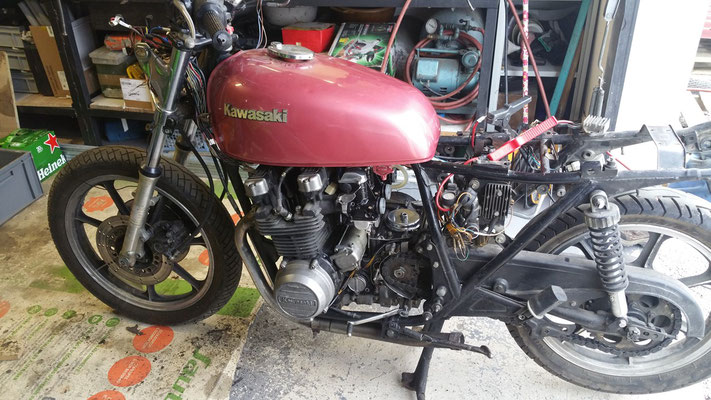
The Inventory
Here comes the oldie, stored in a workshop in the Gers (France) specialized in restoration and according to a friend who knows the boss of the workshop the basis is clean.
I don't know how many kilometers it has, and the original speedometer is missing. The seller thinks it's in the 24,850 miles, we'll see that later...
The engine is not running, there's no battery and there's an ignition default... let's start the adventure.
After a first round of observation, it seems to be in good condition, not so rusty and no leaks...
I load it on my trailer with a friend and we're on our way back to Toulouse.


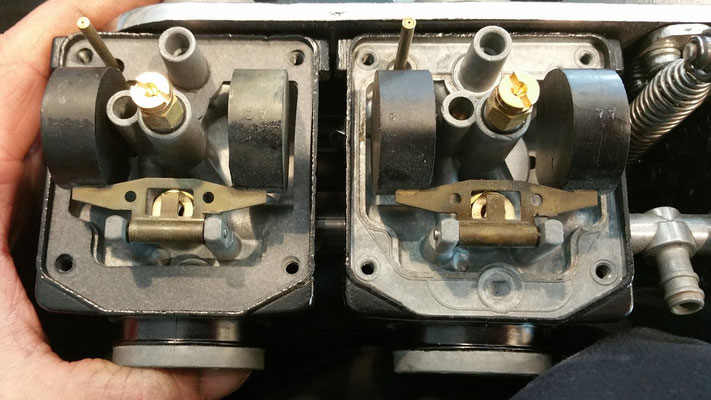
The Carburetor Ramp
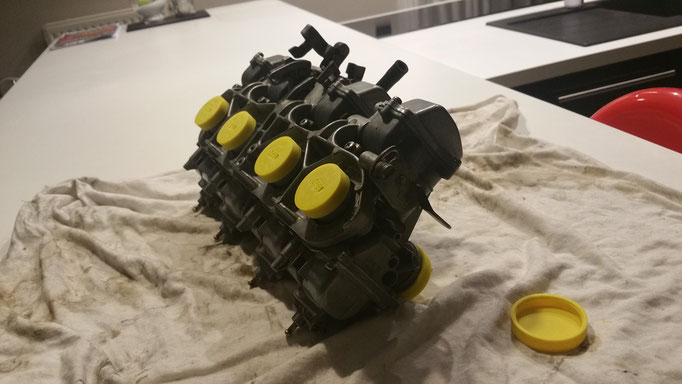
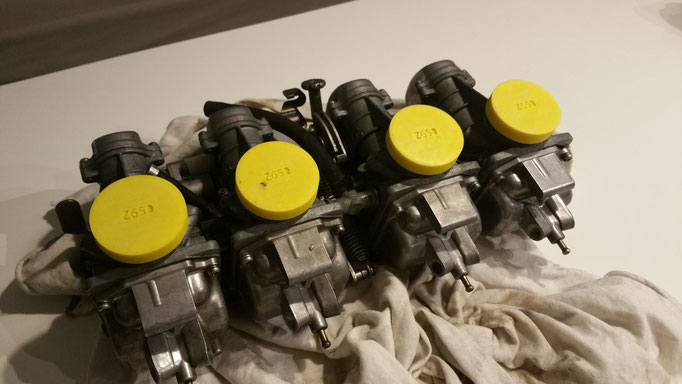
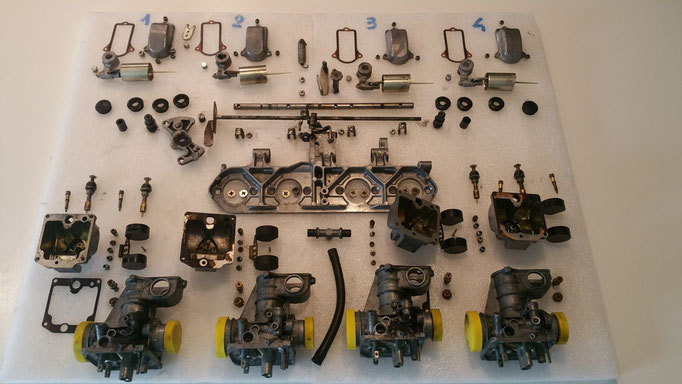
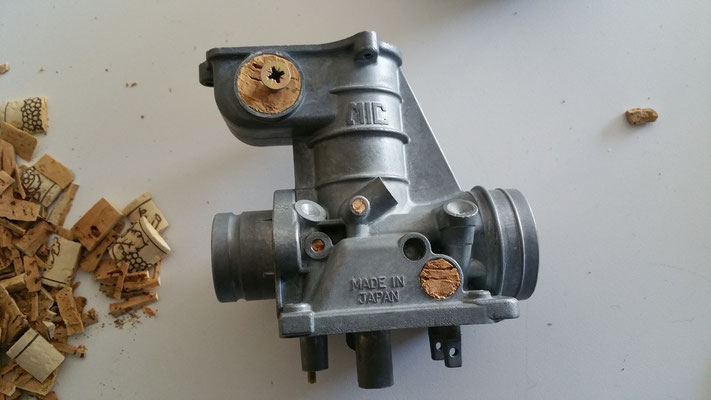
I'm ready to disassemble the beast, I had already 3d printed some ABS plugs, I think they'll be useful all along the project to avoid dust inside the ramp. I'd like the ramp to be as good as new. All the carburetor's jets will be replaced and every parts scrupulously inspected. I'd like to thermo-coat the carburetor's bodies in satin black but due to the plastic bushel guides that are crimped, this option won't be kepts and finally I'll ask forr an epoxy paint.
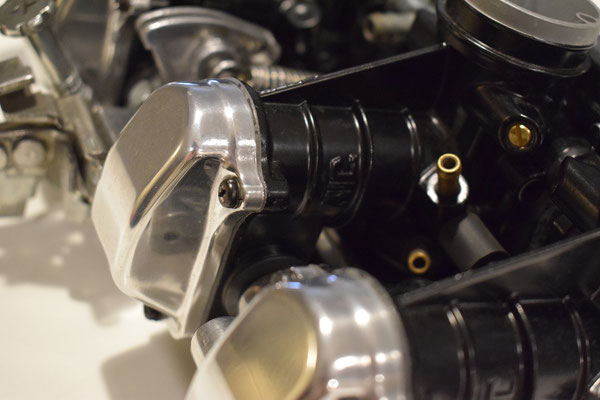
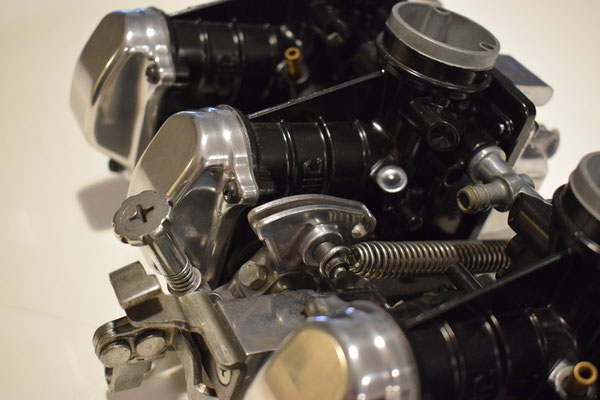
The carburetors' caps and the tanks will be polished, the bodies painted in satin black and all the other parts will be restored as new.
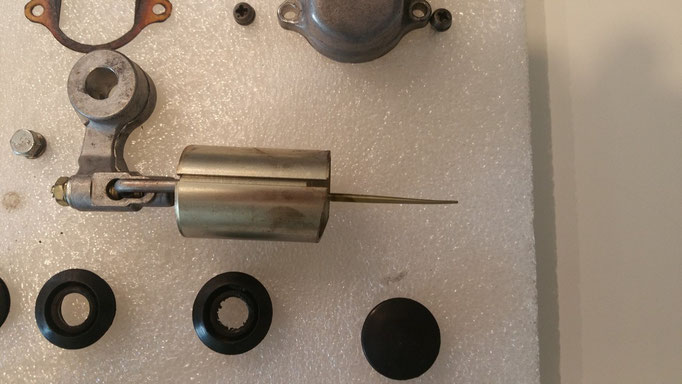
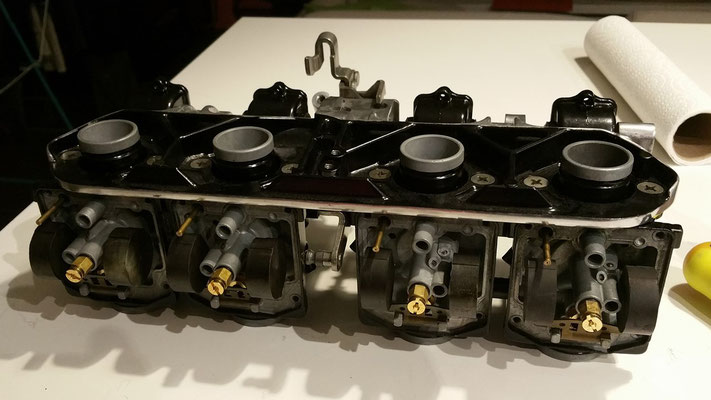
Then comes the time of the disassembling, discovery of the guts of the beast, dusts, joints KO, bent needles...
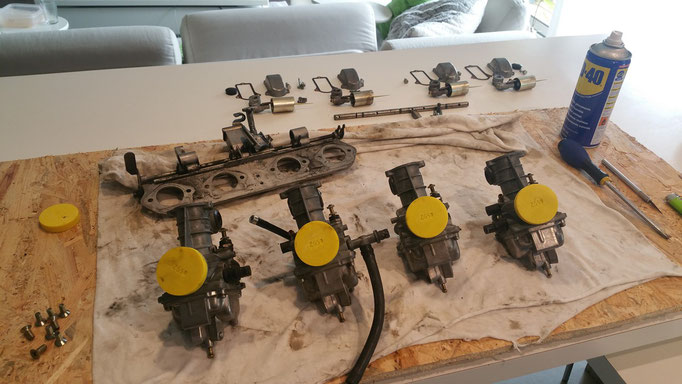

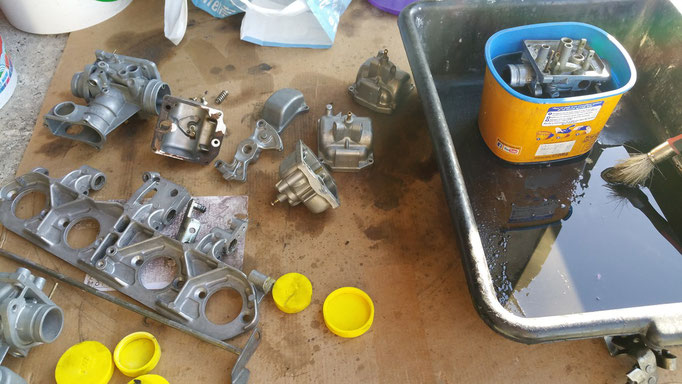
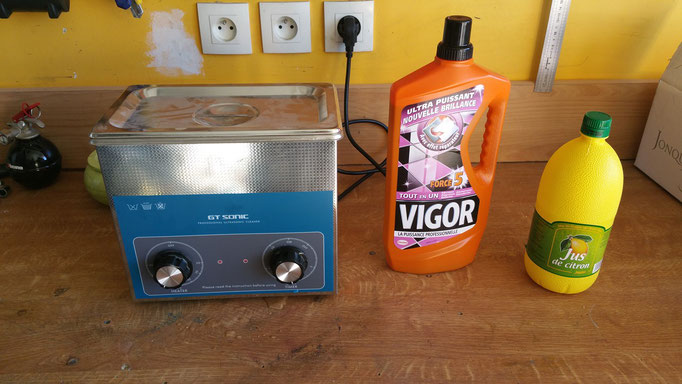
A little cleaning with petrol and a passage to the ultrasonic tank that the father of a friend kindly lent me. I did not use the dedicated products but I tested the lemon juice and the Vigor. The results are not very conclusive, the Vigor does not clean much and the lemon juice attacks the aluminum a little.
In any case I am not sure that all the small channels are clean, to be continued...

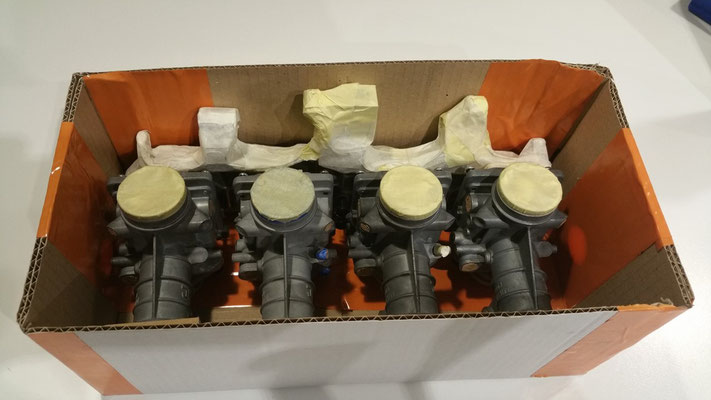
Preparation for the painting of carburizing bodies:
I came with cork stoppers to do the Thermo-lacquering, the least orifice is carefully clogged, but as it will finally be a painting I finish with scotch.
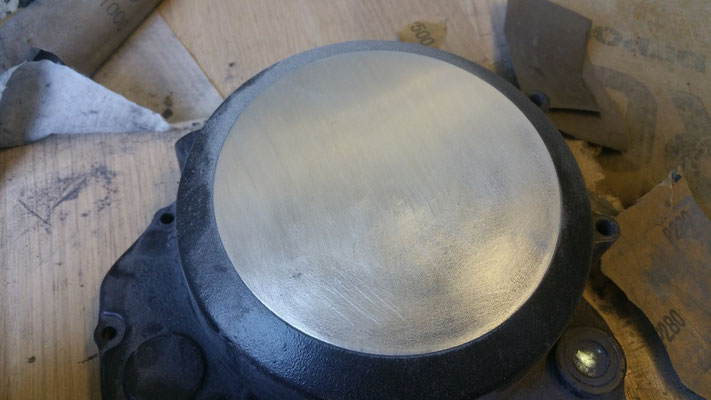
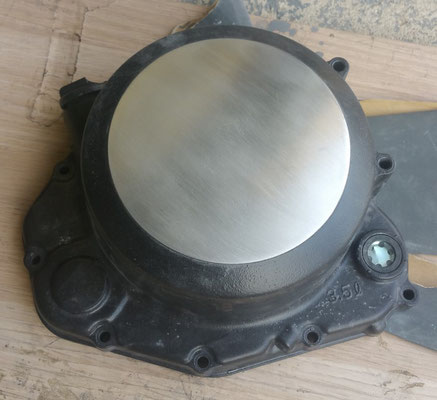
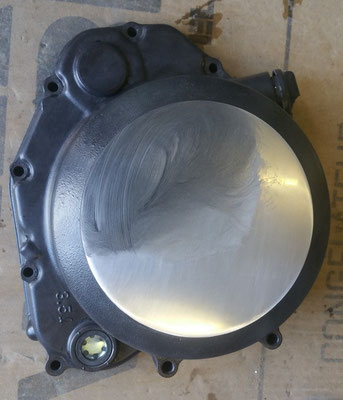
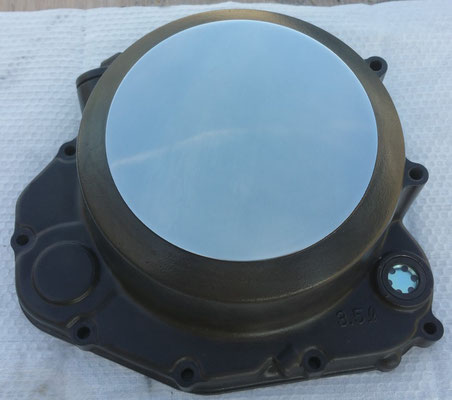
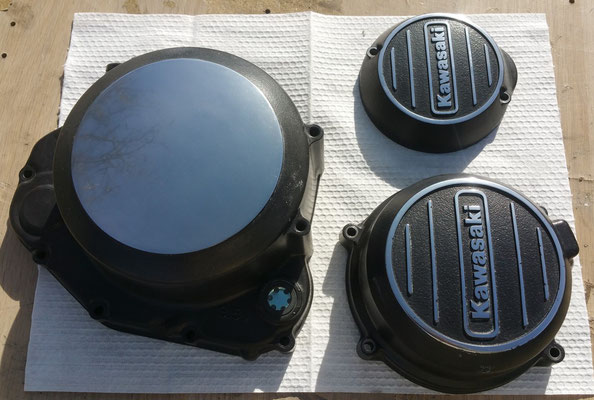
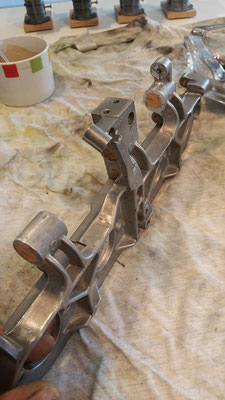
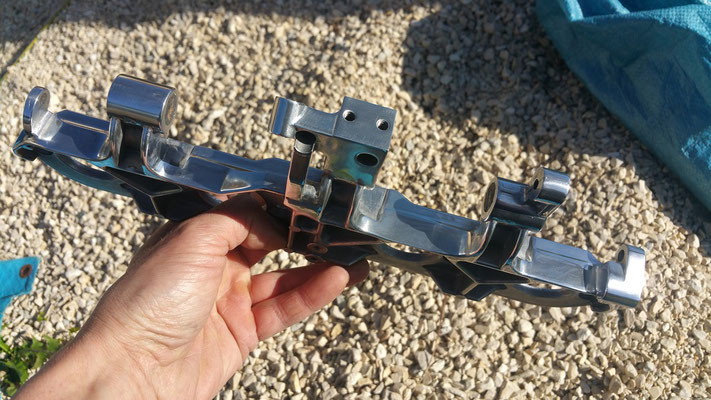
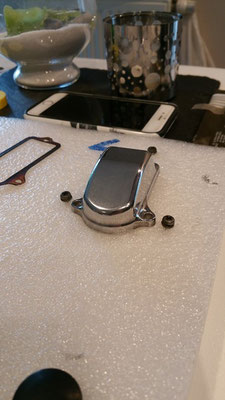
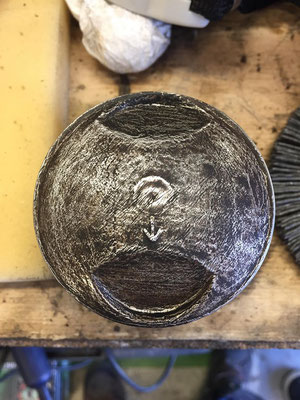
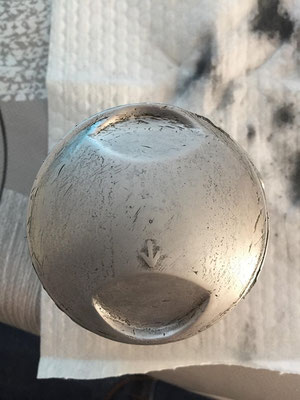
Polishing of the plate, caps and tanks:
While waiting for the return of painting of the parts, I polish, sandpaper 240, 180, 400, 600 then 1000 and 2000 with water, a small blow of Belgom Alu and Belgom chrome. I pass a soft and dry cloth and it shines!
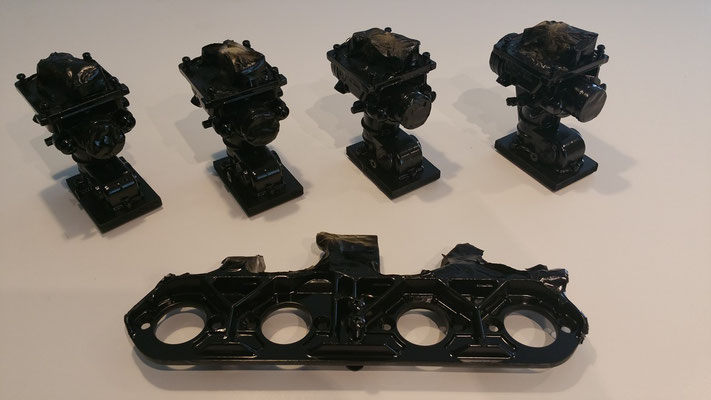
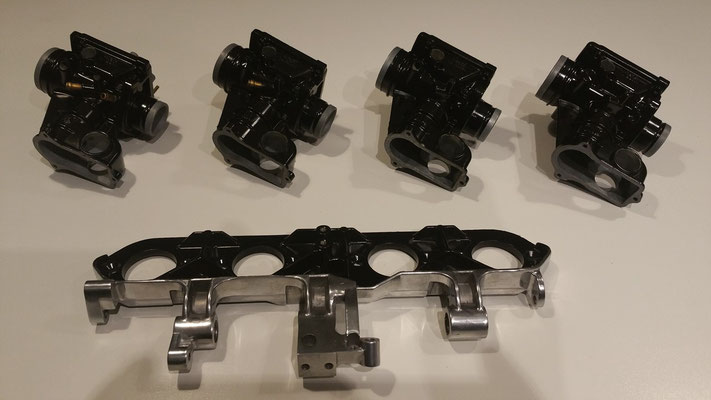
The parts came back from the paint with an epoxy black satin color.
There should be no gasoline on the outside of the carbs but a leak is always possible and I prefer to test the "fuel proof" of the paint with the screws that protected the threads when painting.
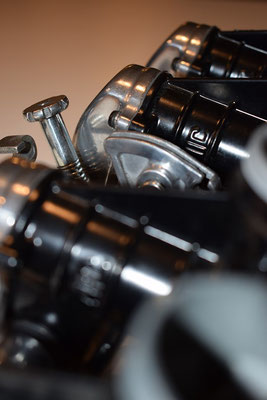
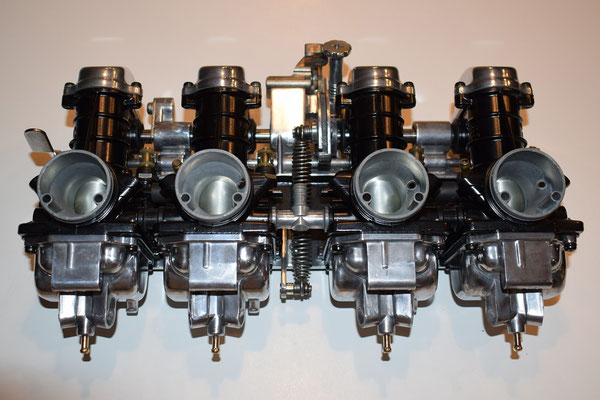
After quite a long pause, I came back to work on my Kawa ; after receiving the renovation kit for the carburetors I got down to reassemble the ramp with a strong polish for the bowls and a big cleaning to finish... Honestly I'm quite proud of me.


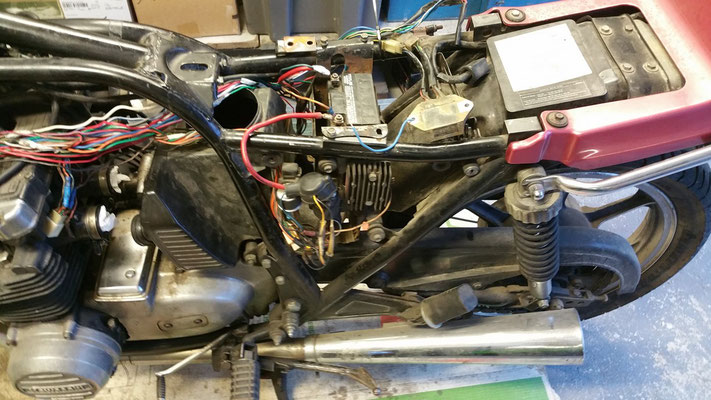
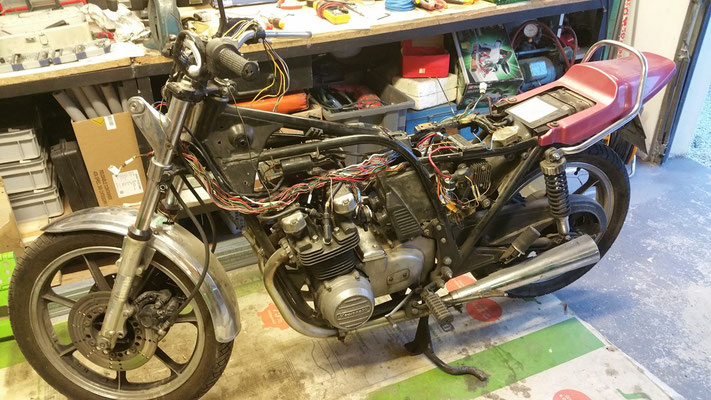
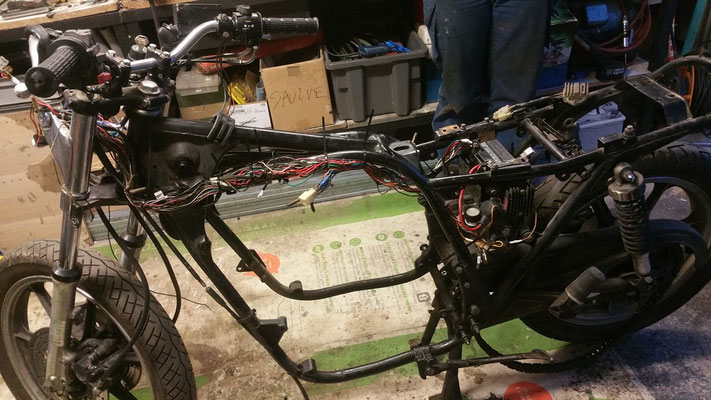
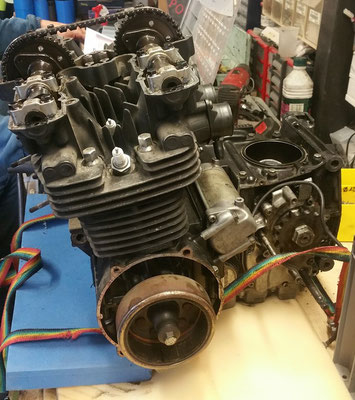
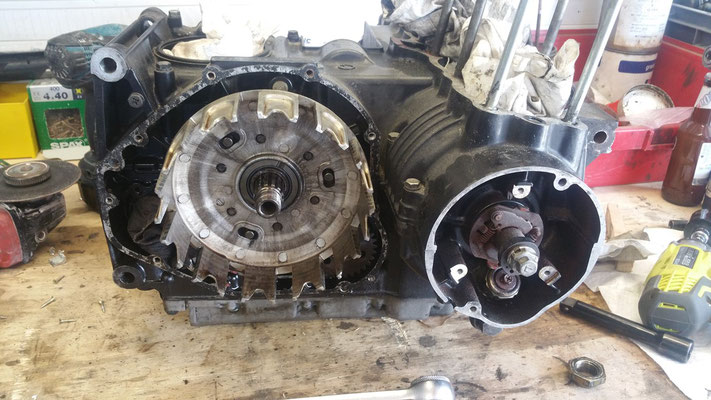
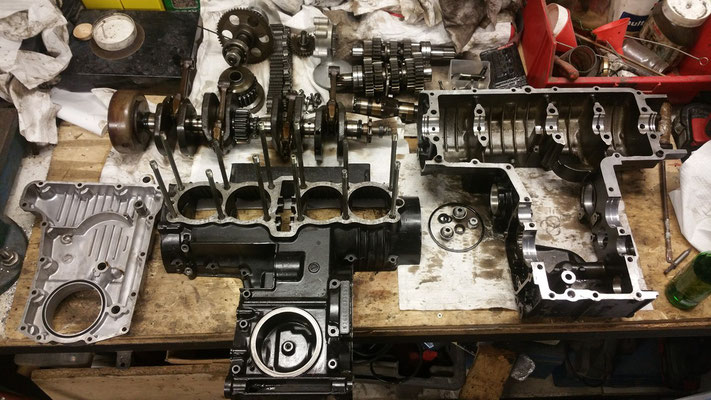
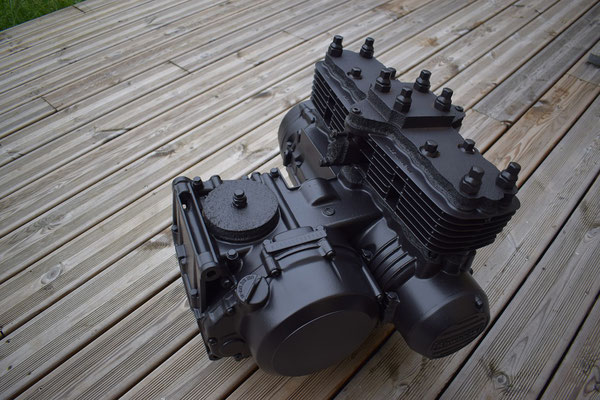
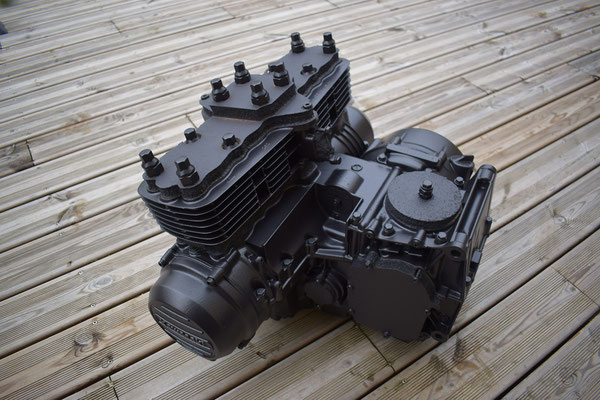
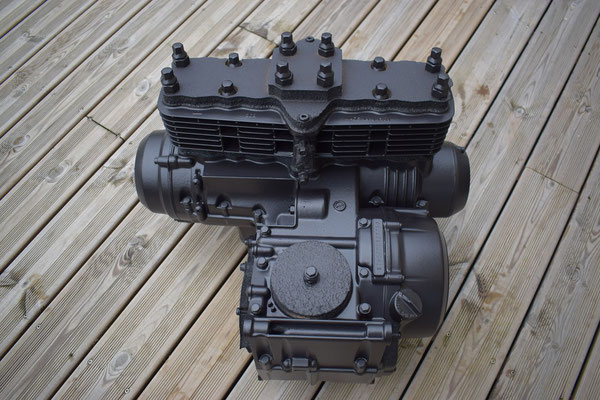
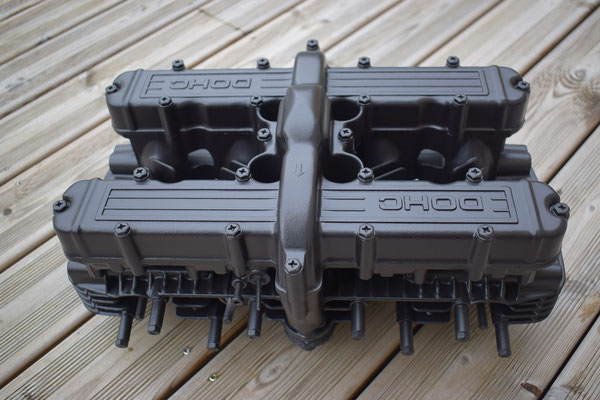
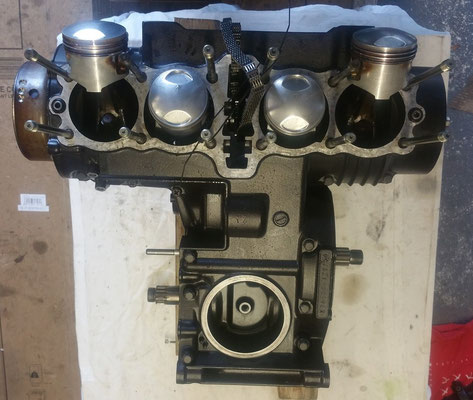
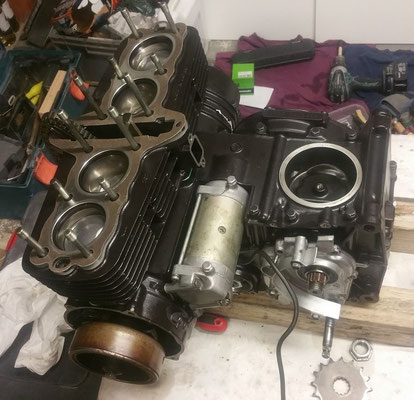
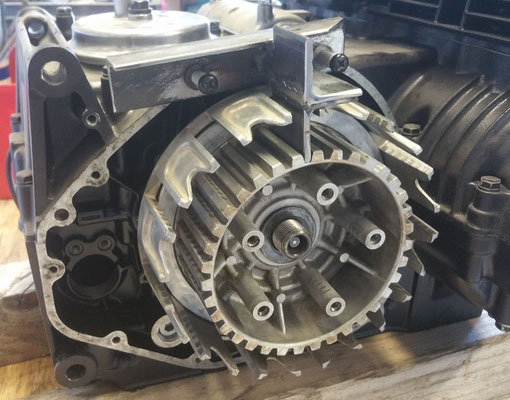
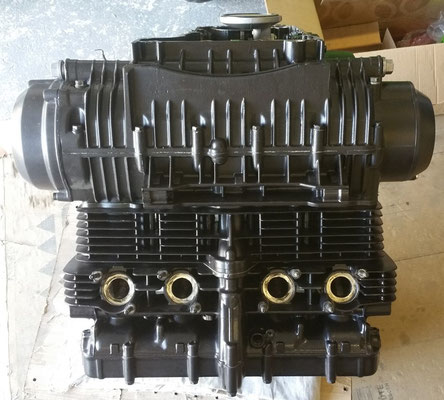
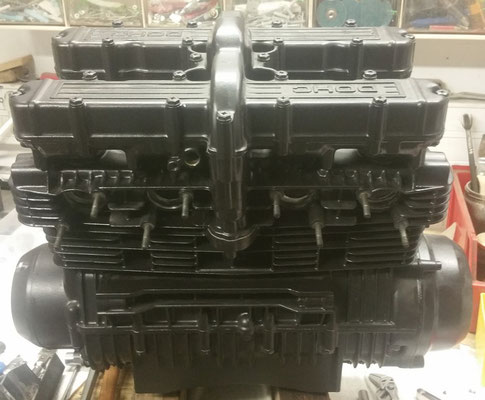
The Naked Kawa !
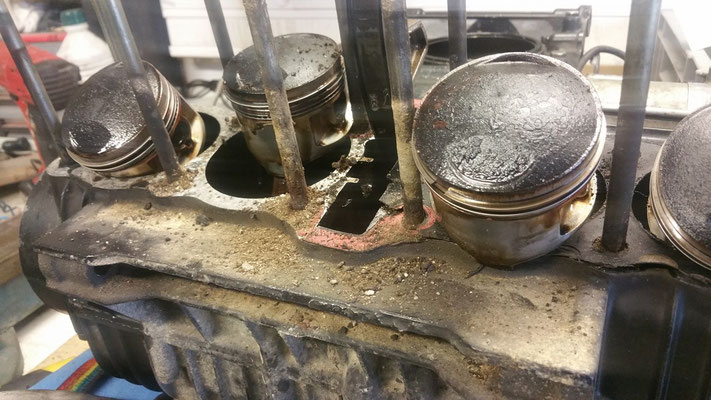
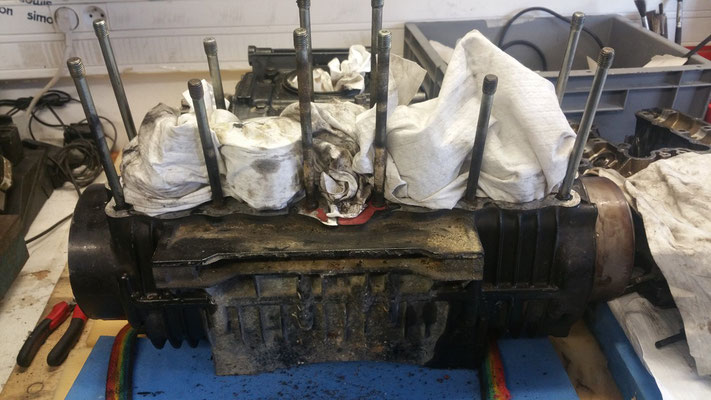
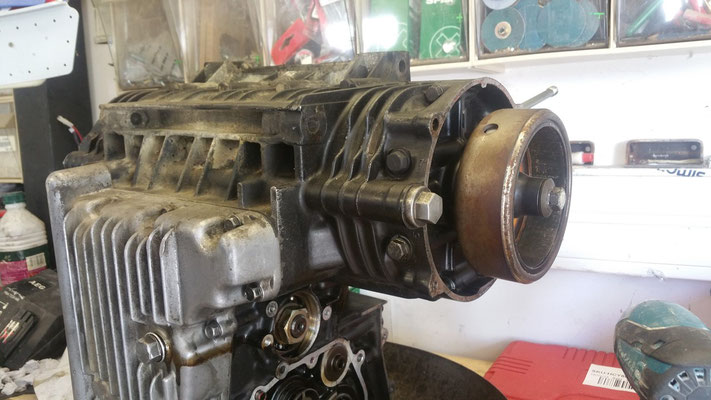
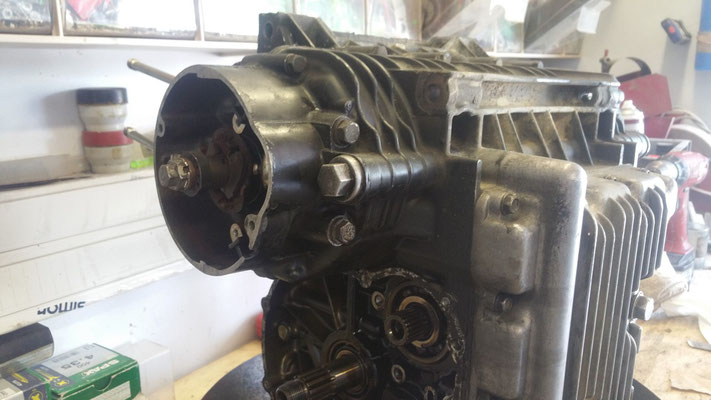
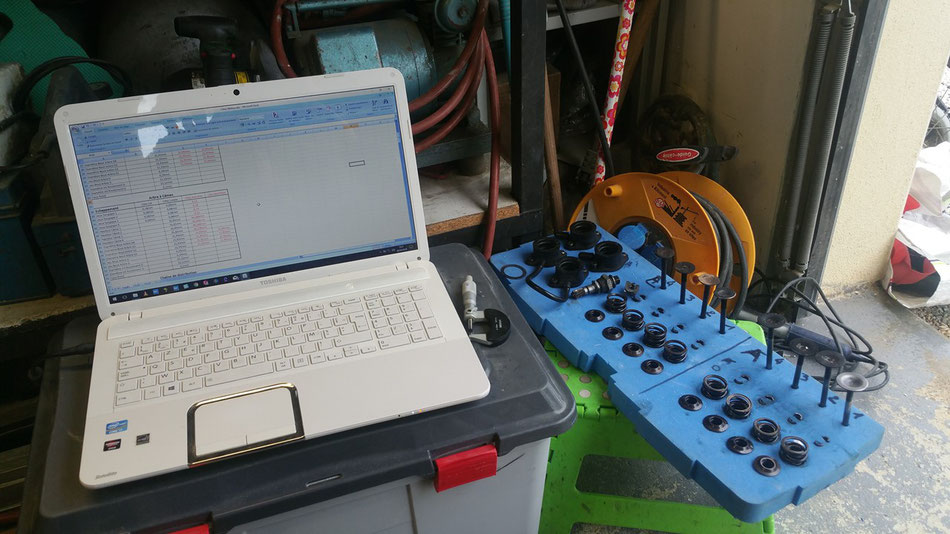
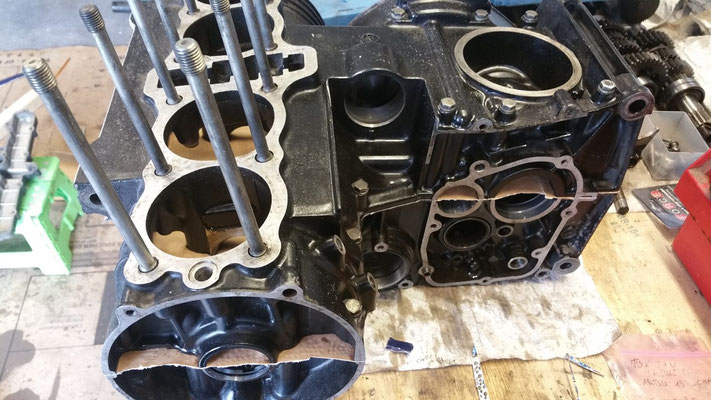
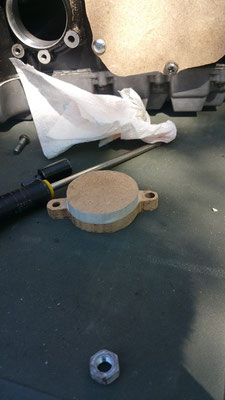
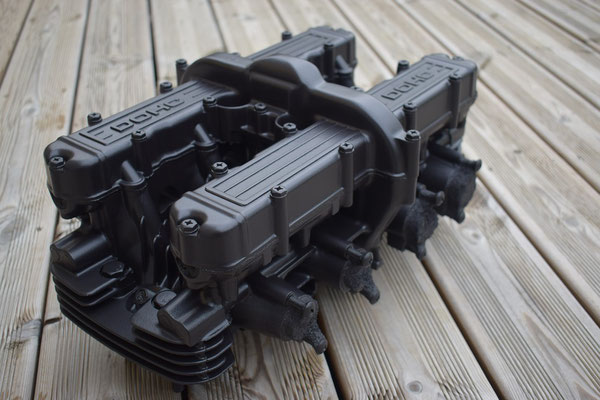
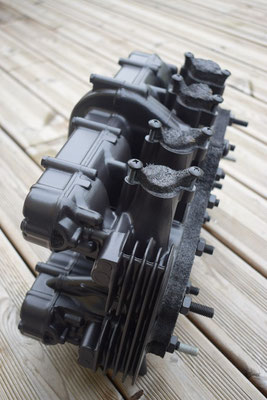
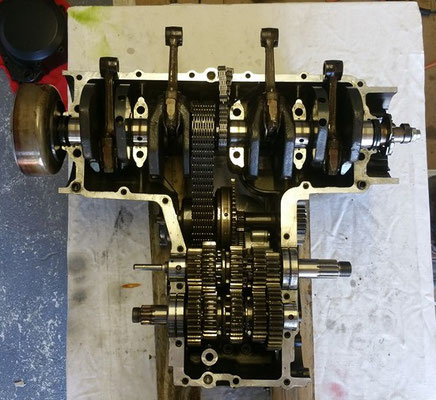
Well now let's start with the serious part... In my plan, at first I want to make the engine turning manually and a good oily start to validate that the engine works and that the newly restored ramp is OK. Next, I will get the engine out of the frame to disassemble it, measure every parts to check the tolerance, order new ones if necessary and finally reassemble the engine and obstruct every hole before sending it for a shotpeening and a nice black powder coating.
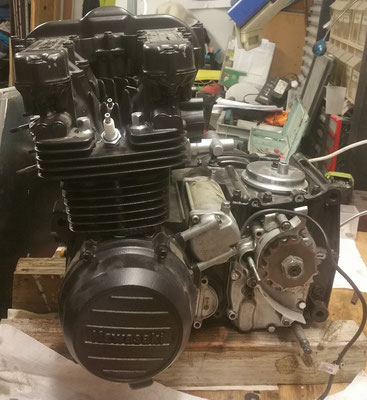
Let the Engine roar
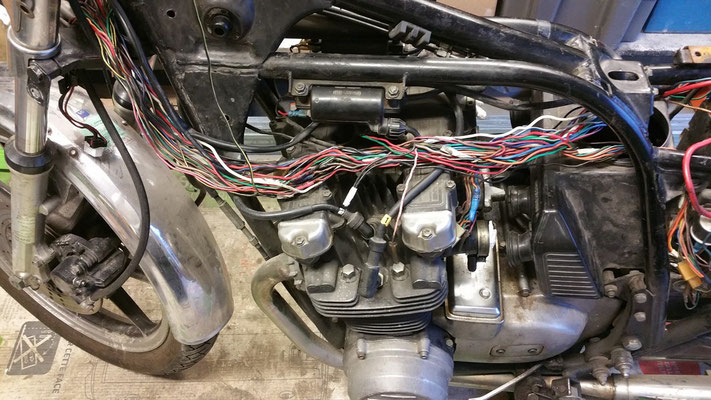
After the ramp reassembling, the electrical harness temporary check that was quite faulty and make some manual engine turn, I, at last, was able to test it for real (but with some oil everywhere to fill the eventual gaps) :)
What a pleasure to hear it for real!


In the following video you can obviously hear it turning only on 3 cylinders... That's just because I forgot to plug the spark plug on cylinder n°1... OUPS...
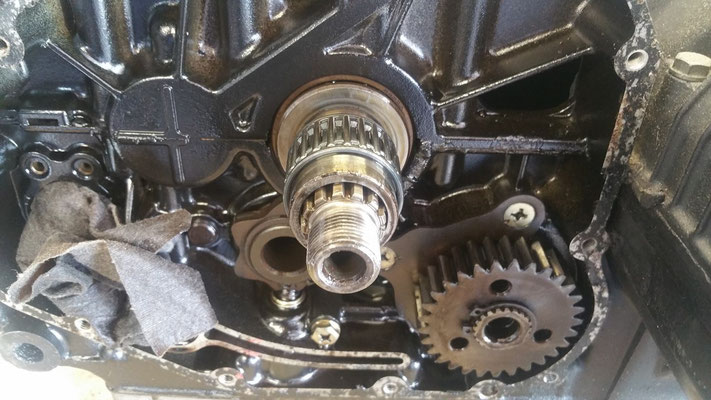
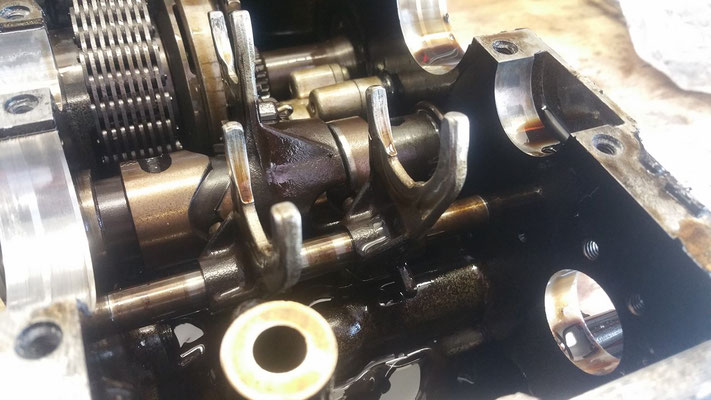
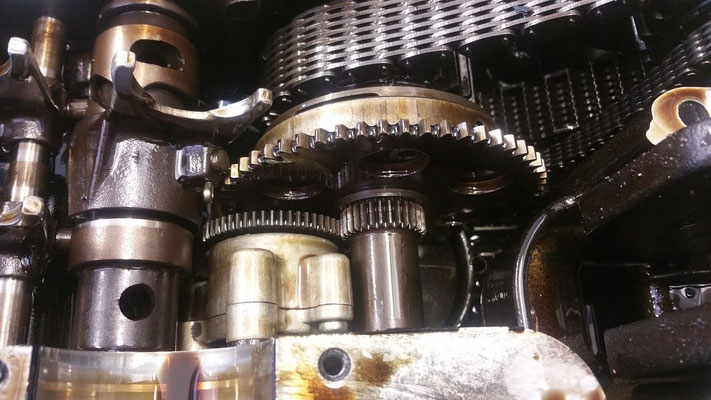
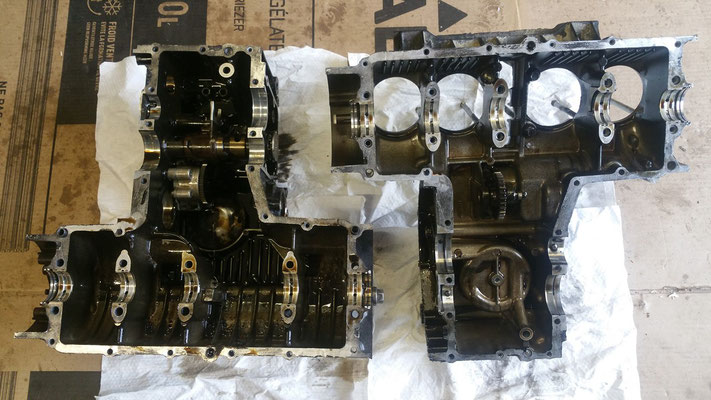
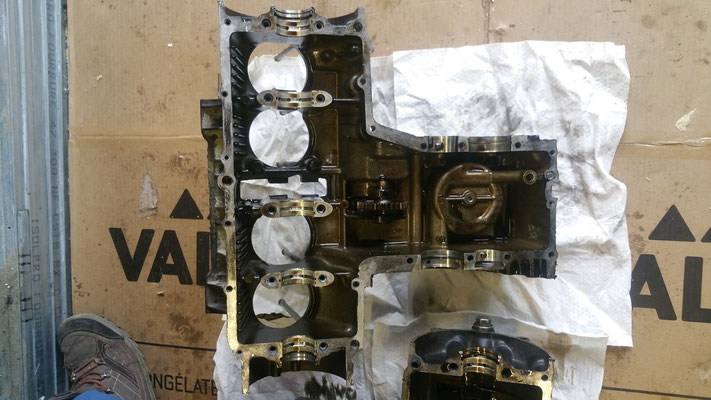
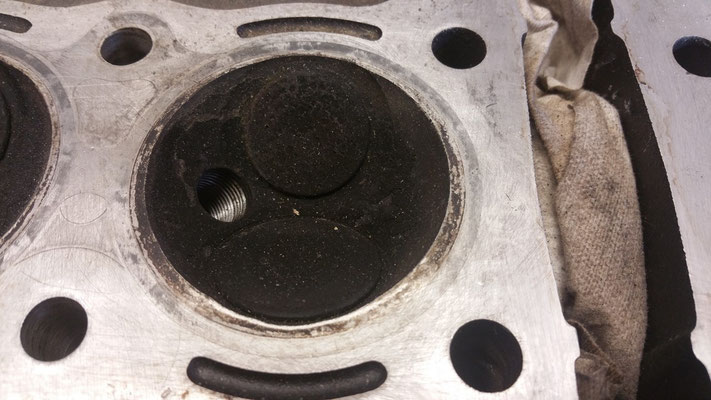
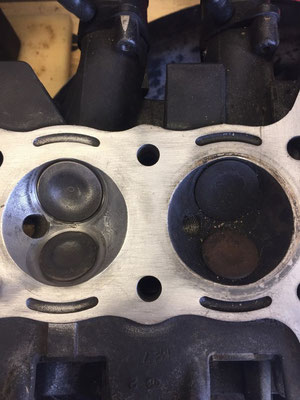
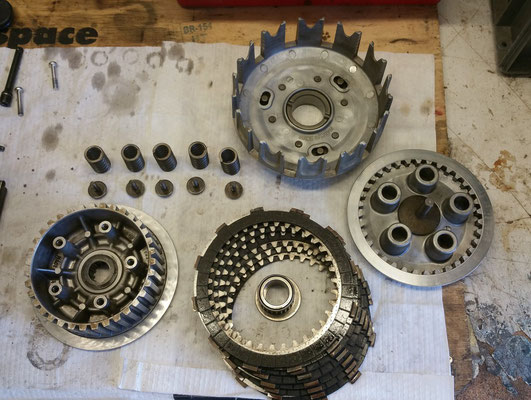
Démontage
Bientôt

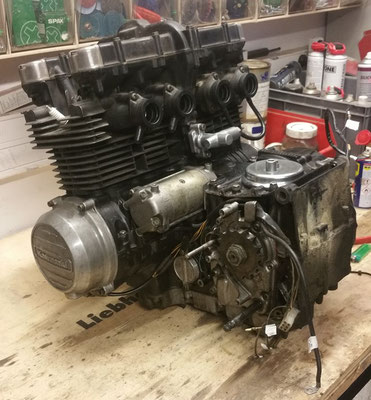

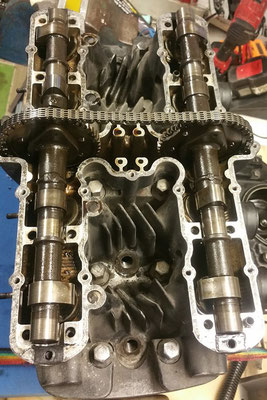
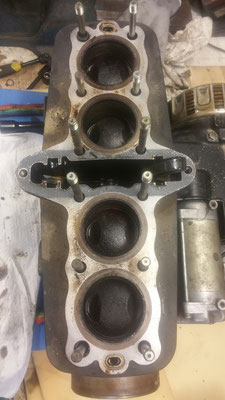
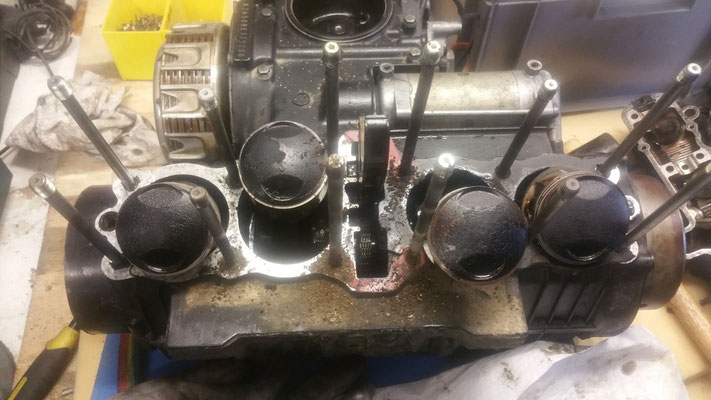
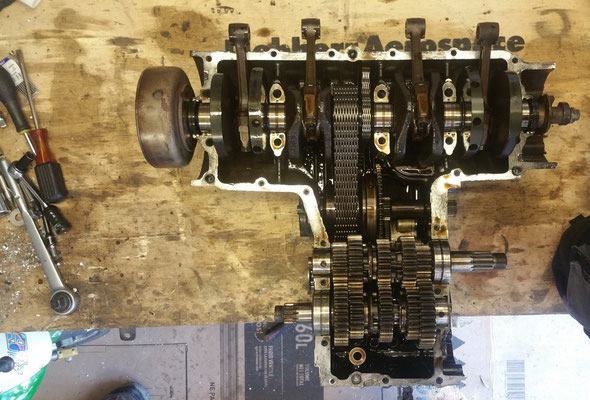
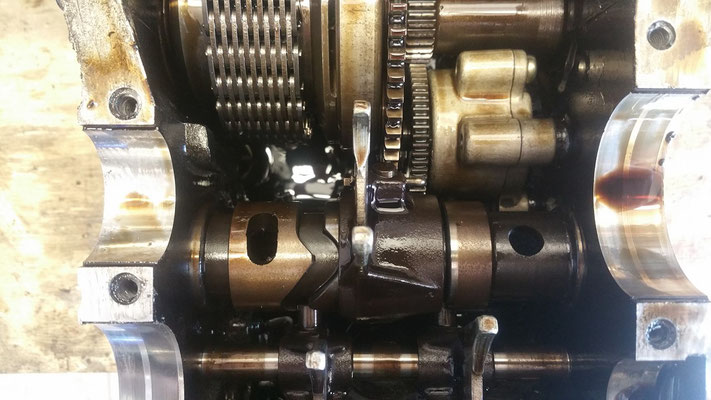
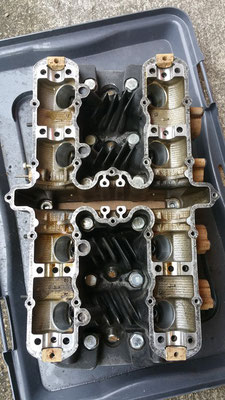
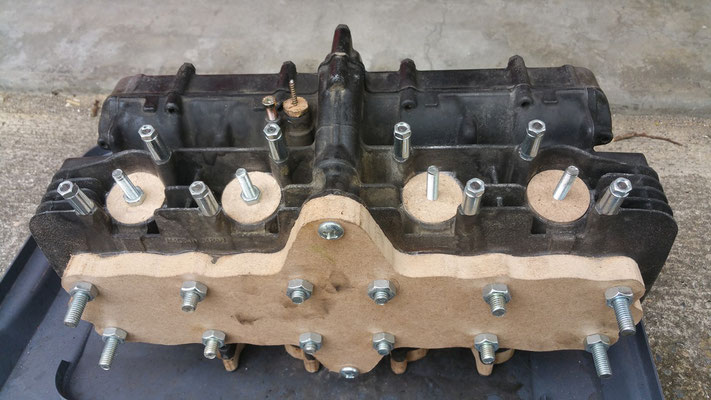
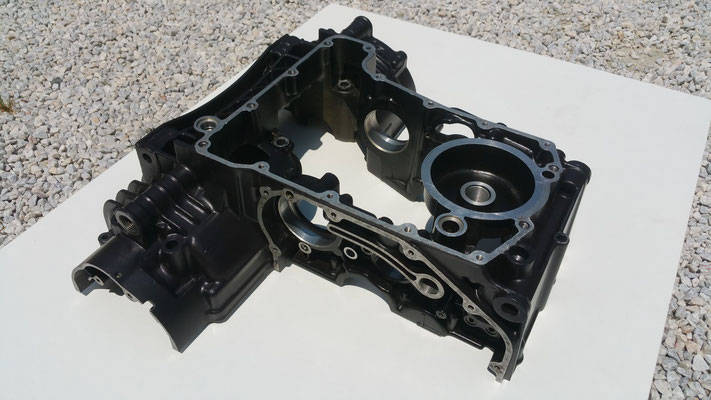
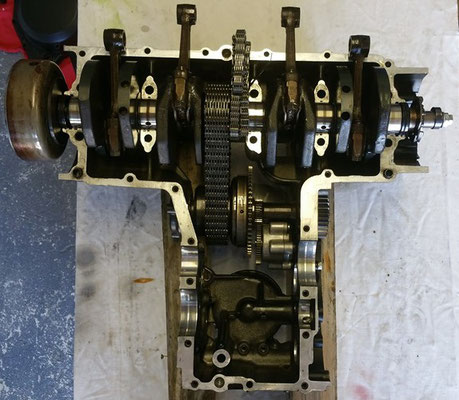
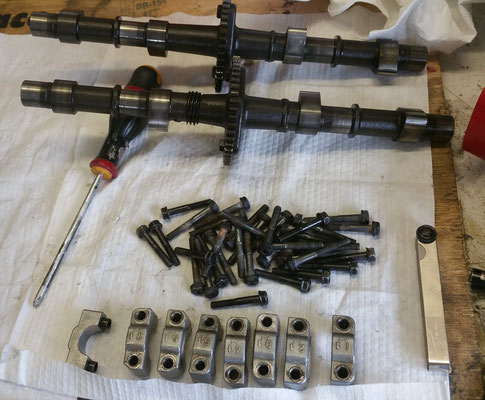
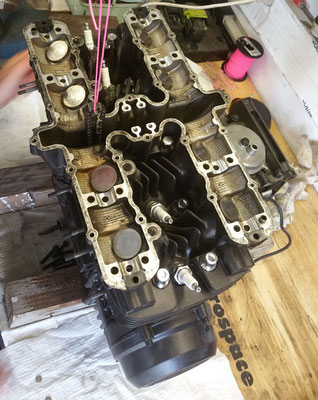
Le Moteur
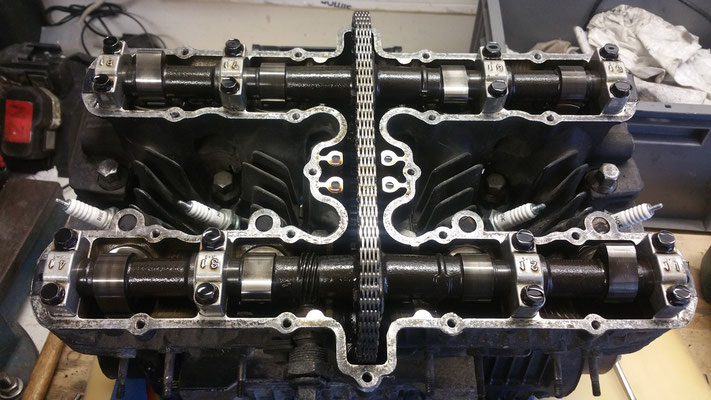
Démontage
Bientôt


Nettoyage et prise de côtes
Bientôt


Bientôt
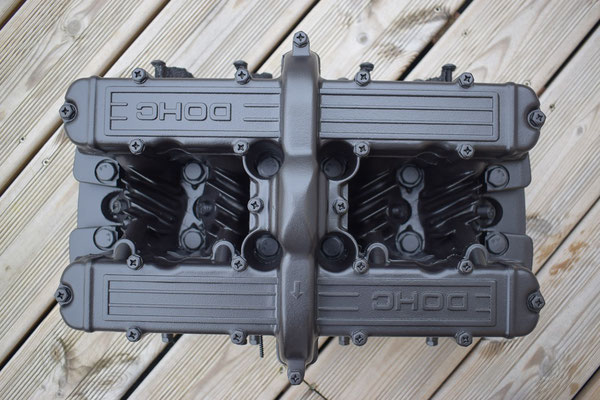
Préparation pour la Peinture
Bientôt


Retour de Peinture
Bientôt

Remontage
Bientôt


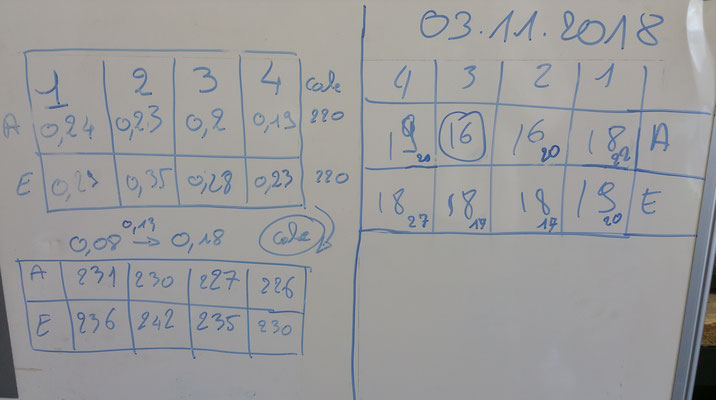
Jeu aux soupapes
Bientôt
Polissage
Bientôt