

Honda CX 500 "Caférisation"
September 2010
As a motorbike passionate, I've had this idea in my head for a long time: to transform a motorbike; mechanic, aesthetic and so on...
By hte way, I don't know anything about it, neither in motorbike mechanics nor in welding and that's whats interesting in this project.
And so I'm ready to tranform a Honda CX 500 into a café racer. This motorbike is a cheap one with a nice looking engine (I wouldn't want to massacre an old cutie... and I don't have the money to buy an old cutie)
I already have an idea of what I want to do but nothing's defintive
I want to keep the frame and the wheels :)
The Project
My goal in this project is to learn a maximum, design, mechanic, painting, welding, electricity...
It's going to be an ambitious trip full of traps :)
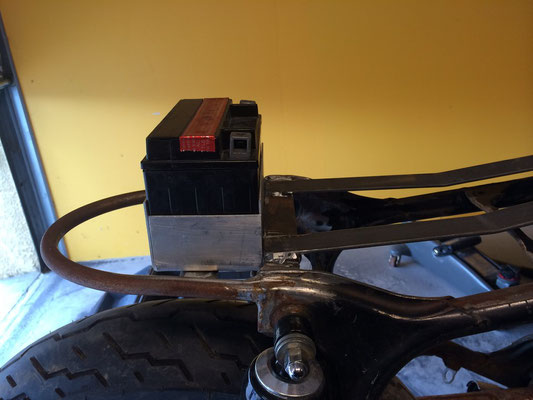
Ideas start flowing, an R1 fork, new brake discs but with original wheels, I also want it to have rearsets, LED light, a complete nice exhaust line, bracelet handlebar and the middle of the frame will be empty, It means that the air filter will have to be replaced by cone filters all the electric elements to be moved
Everything's said, here I go, knowing that to ease the projects I don't have any special tools. In word It's going to be tough.
The Mistake
The first basis... Conclusion: Broken frame...
The good
The new one can be driven and is in good shape. But again it's a custom bike.

The end
The project will be stopped at this step.
The Mistake
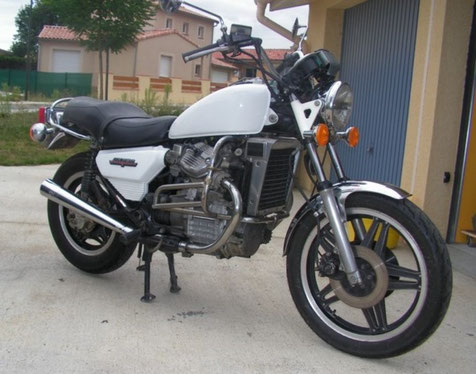
Looking on an ads website I found this CX500 for 500€, it can be driven ans seems to be well maintained.
I went for a little stroll and thought it weird to drive but as my current motorbike was a 2007 750 GSXR I told myself that I just wasn't used to this kind of beast.
I took it back home and start the disassembling and then I came to realize that the main frame was twisted, I've been tricked, my bad, I just had to be more aware...
Enraged, I cut it with my grinder to ease myself and so that I no longer have that mistake on sight... I had to move on...
It may be small solace but all the other parts were in good shape.
The Good

After my big failure with the first CX I had to look for a new basis and be a bit more cautious
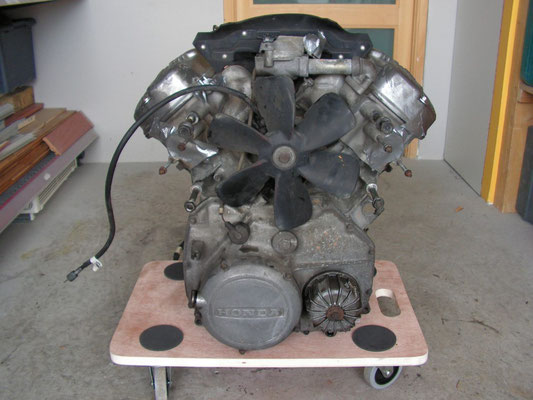
I had found this white CX500c in Ariège, nice sell, the bike behaves good on the road and I even had a spare CX400 engine! Most of the CX500 are identical to the CX400 and that's good news!
I brought it home and let's roll out !
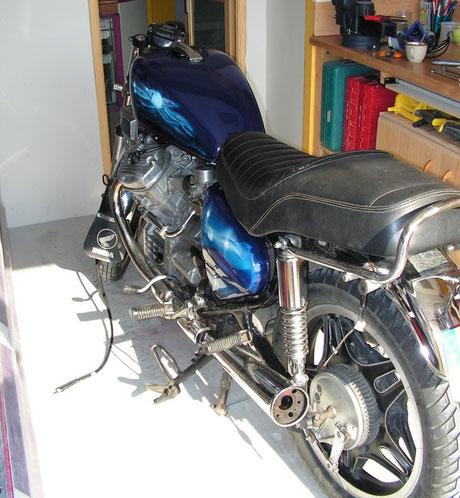
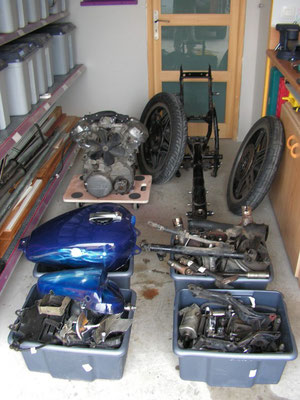
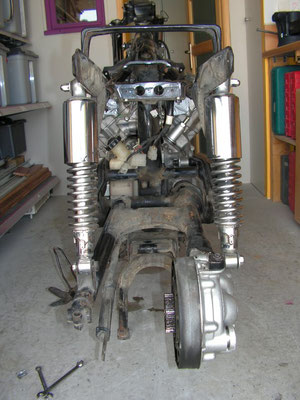
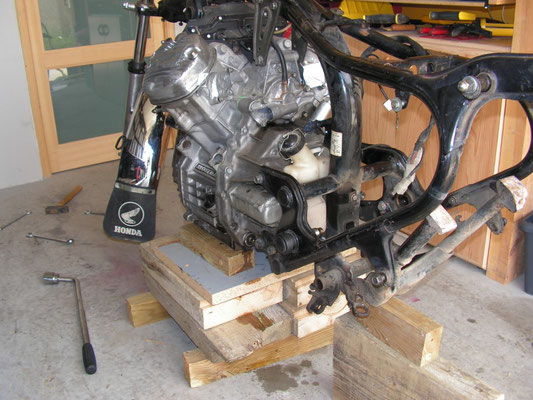
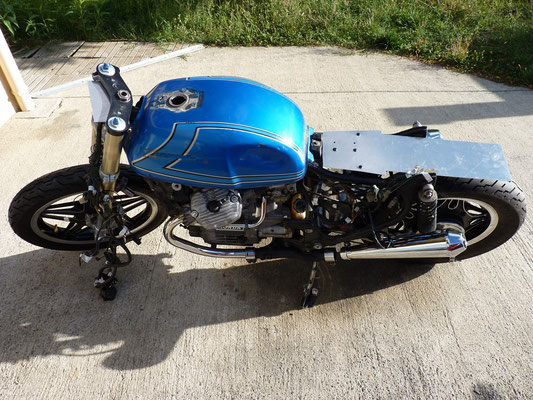
The disassembling
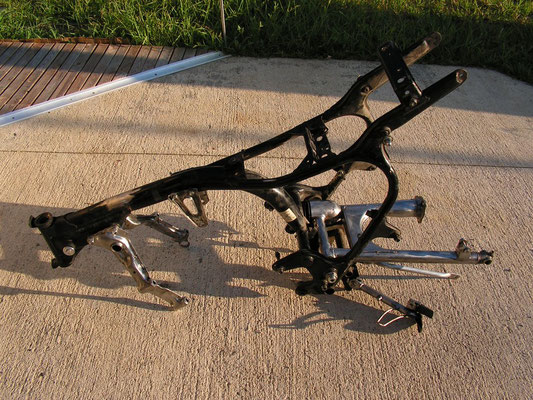
I like to disassemble, I use my wrenches, I label, clean and as the work goes I visualize what will come next and I make room.
But it's also at this moment that I discover what's in good condition, what's not, what was tinkered and what's good for the trash.


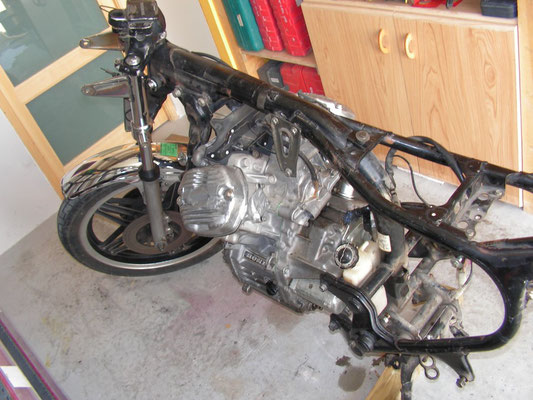
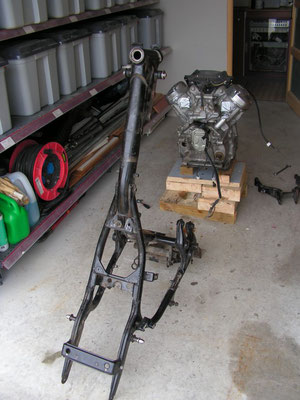
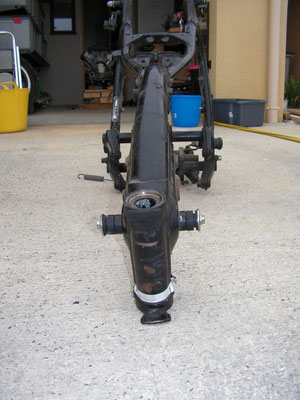
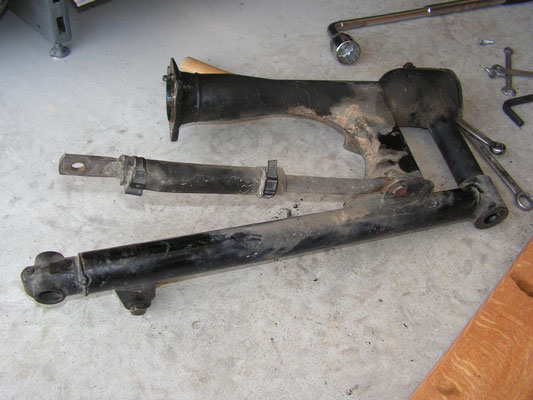
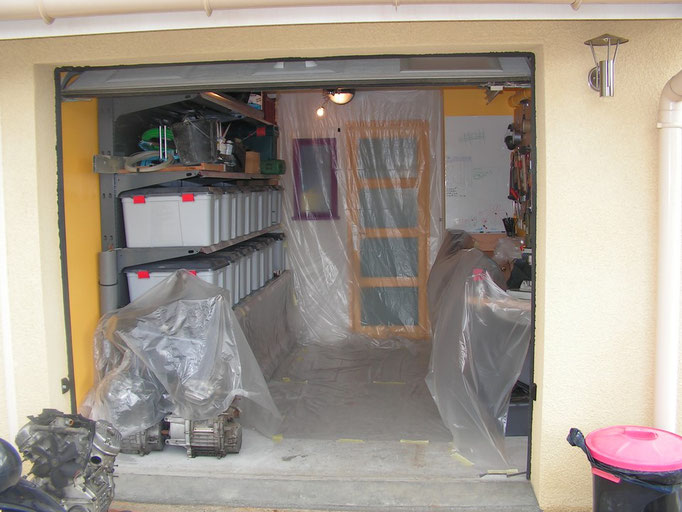
Cleaning of some parts
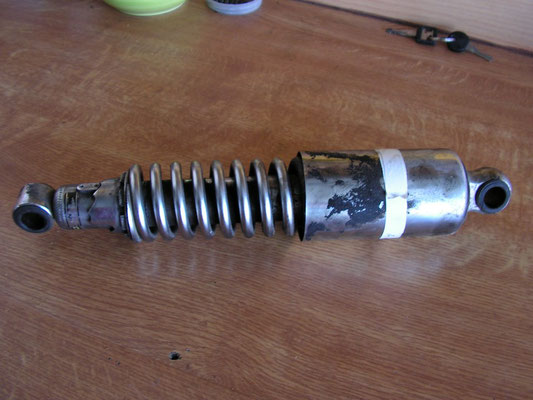
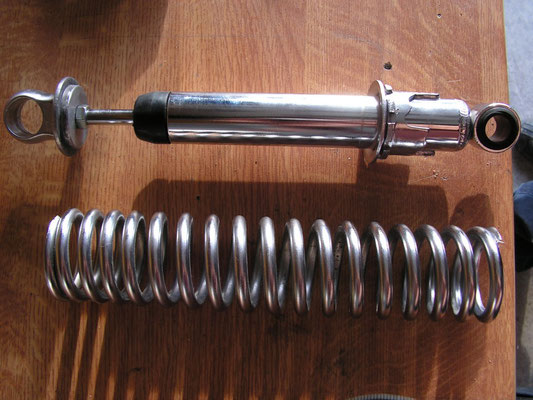
I wanted to clean and sand the swinging arm, the engine support and the shock absorbers to check the results on a nude frame. That's simple and it will be easier for me to anticipate the future modifications to do to the frame for the transformation.
I took advantage of it to renovate the shock absorbers.
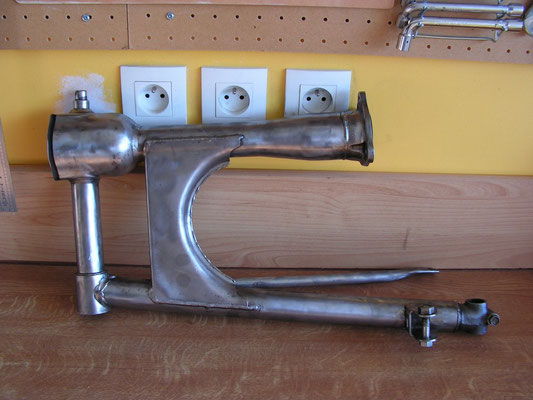
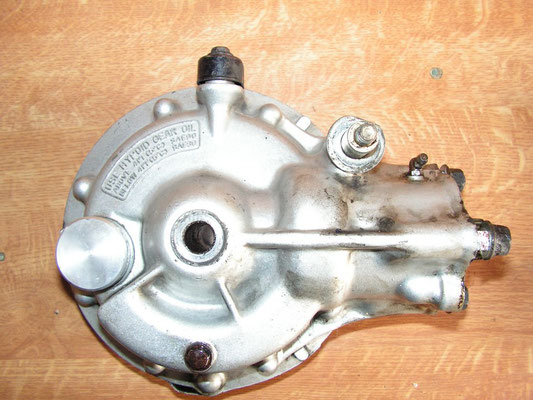
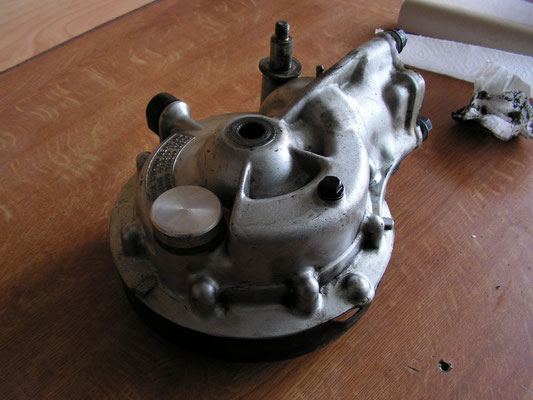
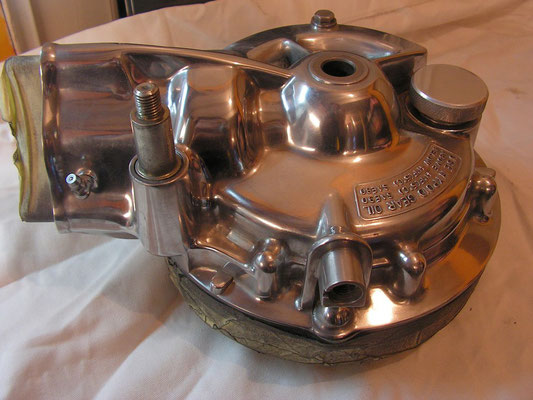
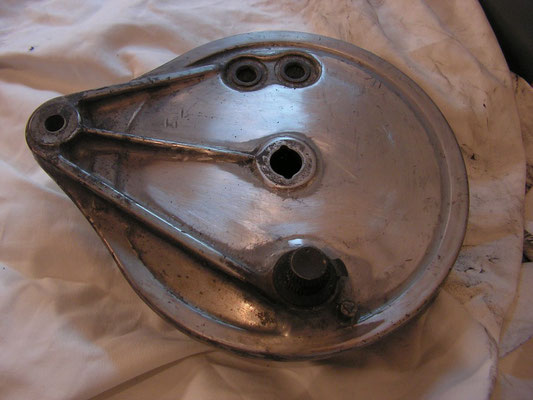
Polishing a bit...
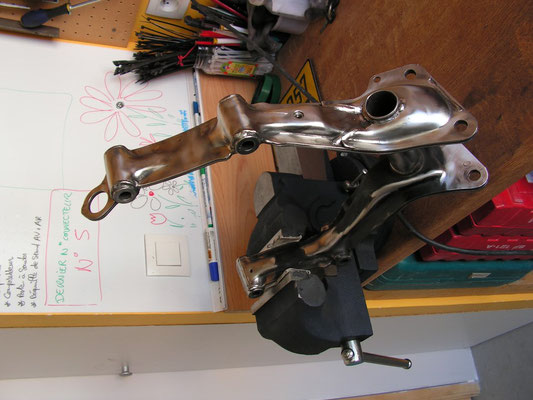
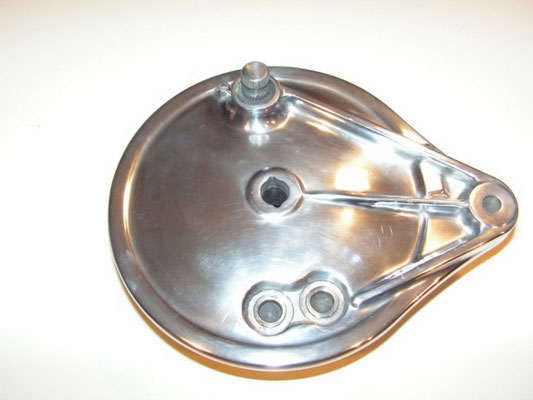
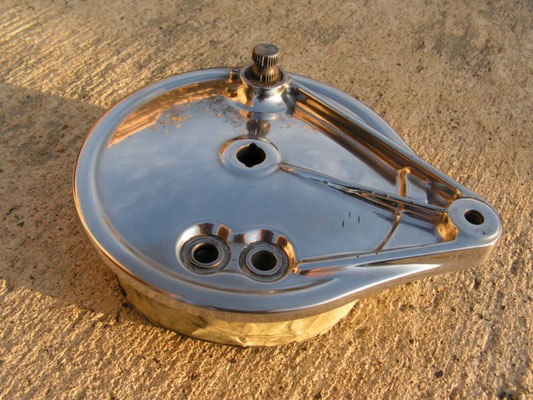
I begin with the polishing of the reference gimbal and of the rear brake drum cover. The brake is an easy task but for the gimbal, it's not the same with all the corners and angles. On the pictures you can see the intermediate steps of the the gimbal and the final step of the brake cover.
Once the aesthetic part is finished, I pack the parts. The mechanical part will be done just before reassembly.
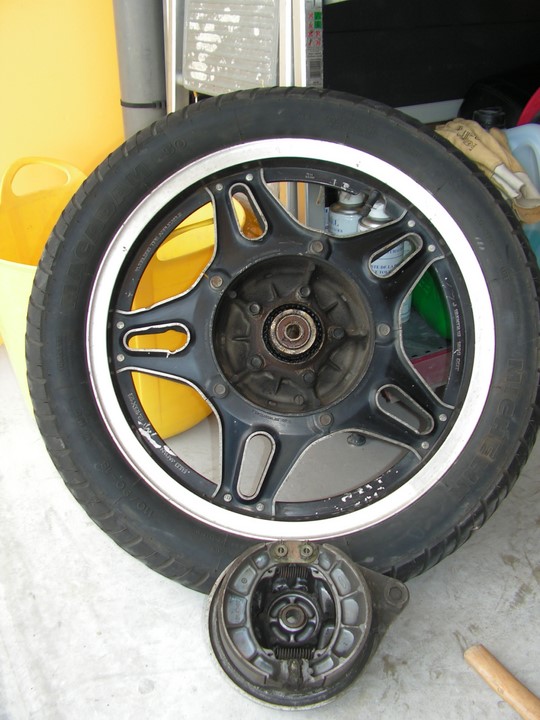
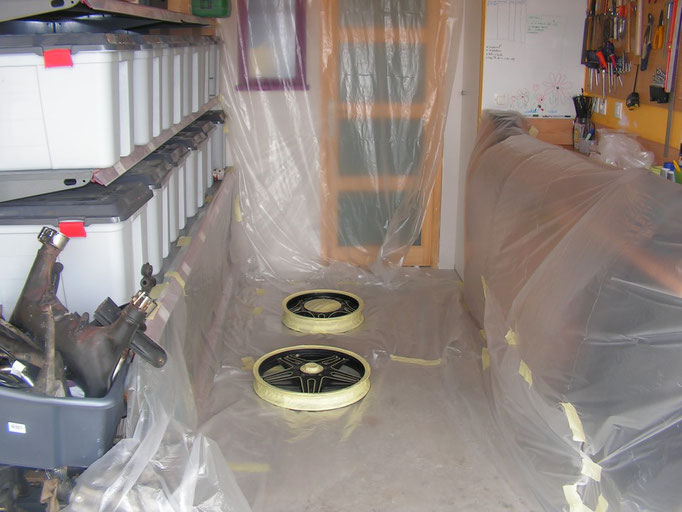
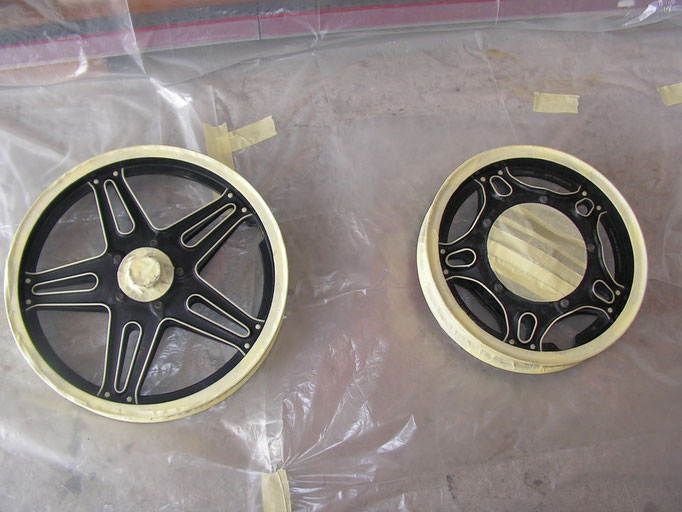
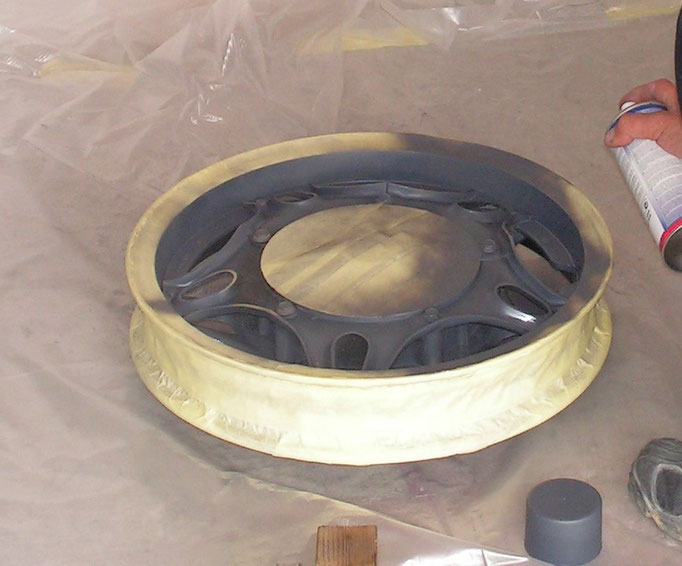
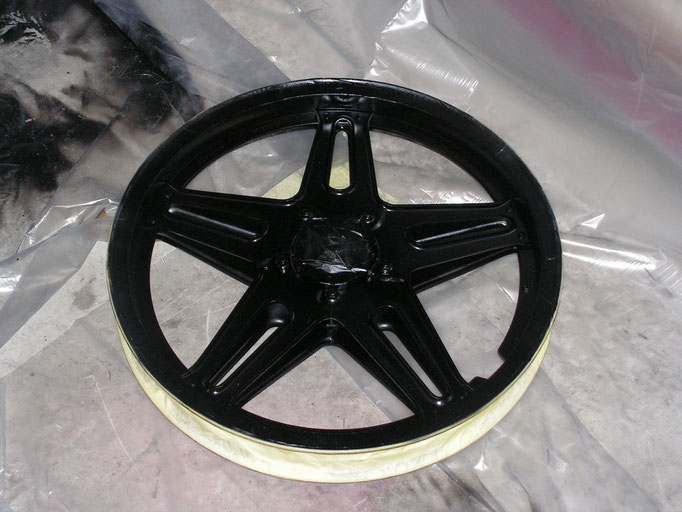
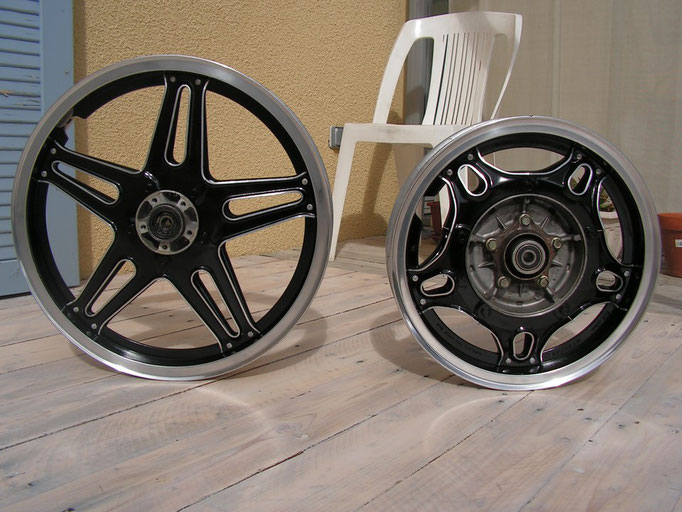
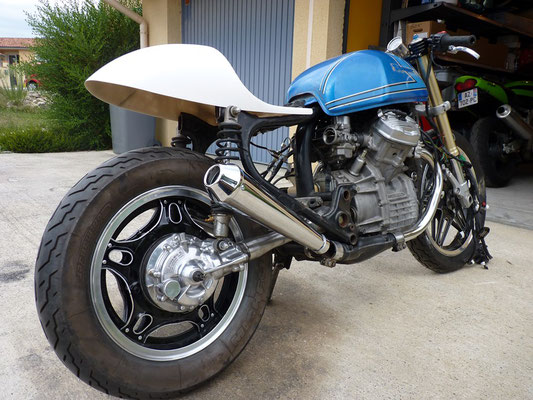
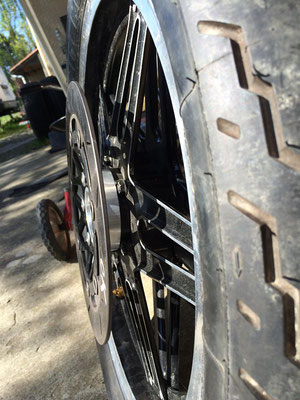
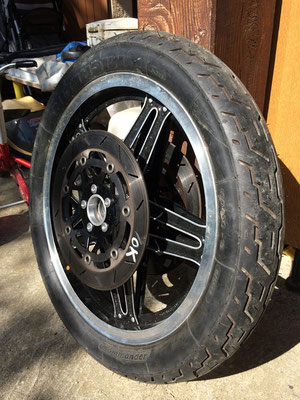
The wheel rims
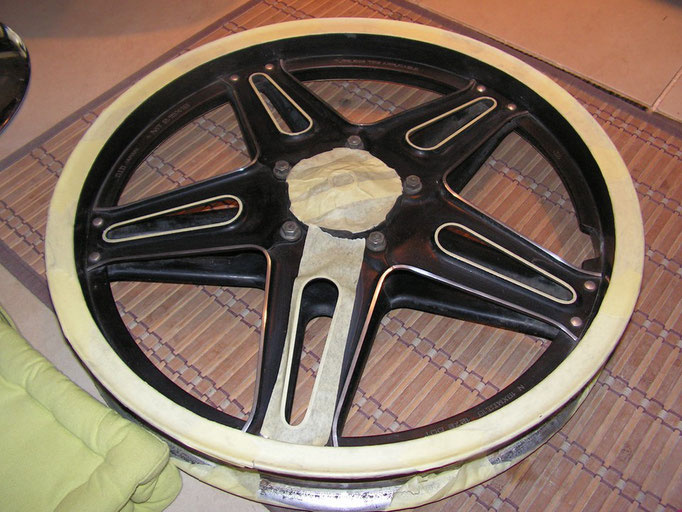
The rims will be renovated as close as possible from the original. After a good cleaning and sanding I mask the edges and rivets.
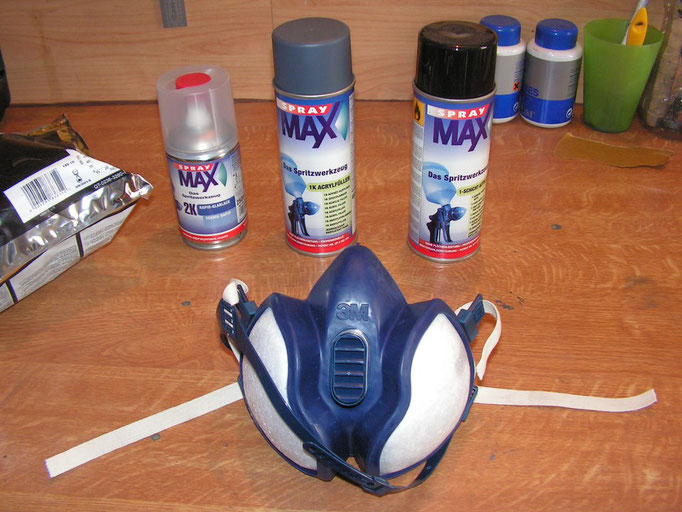
Then, one paint undercoat, 2 shiny black paint coats and 2 epoxy varnish coats are applied to protect the rims.
I let it dry, unmask and Tadaaa !
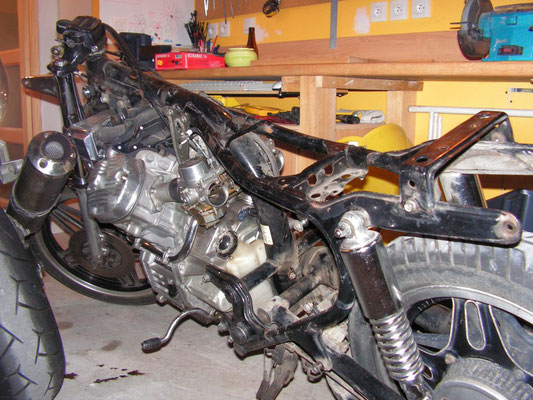
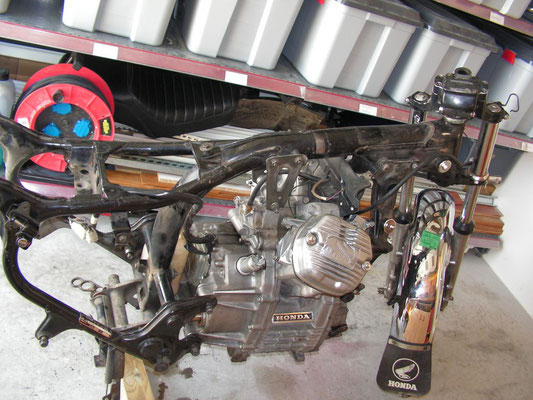
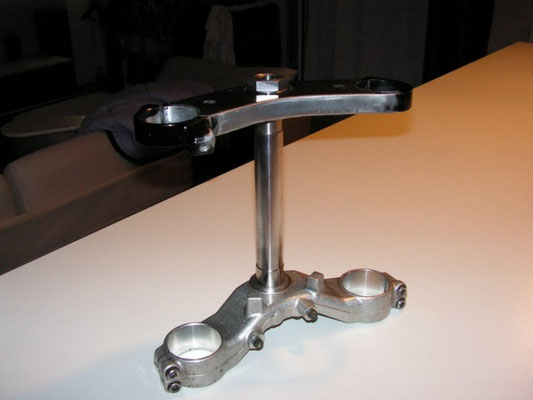
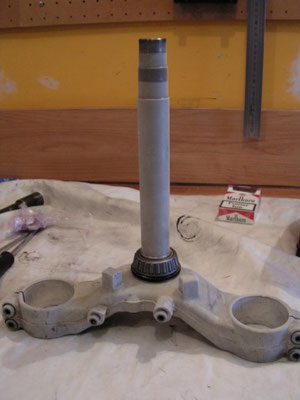
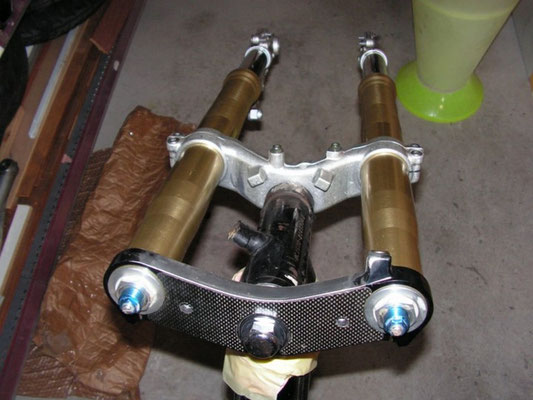
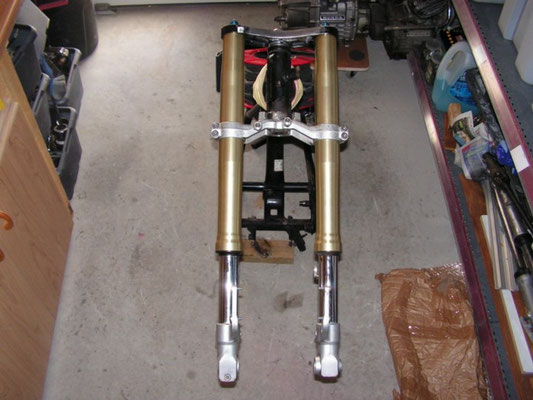
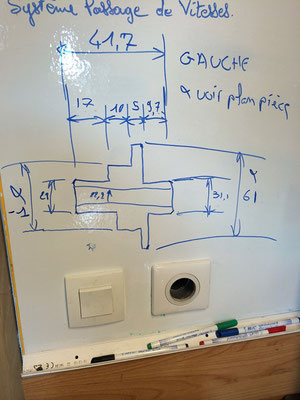
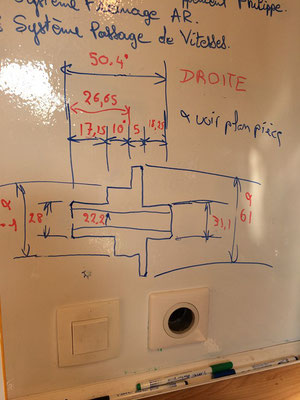
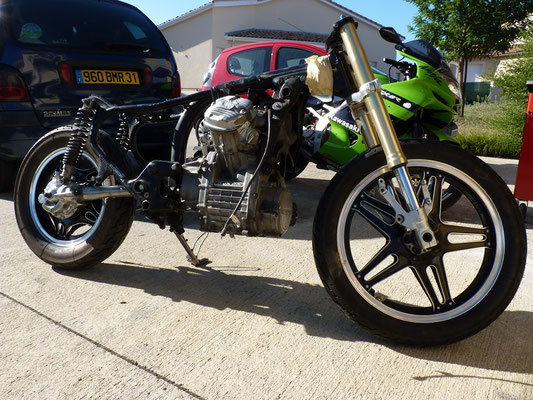
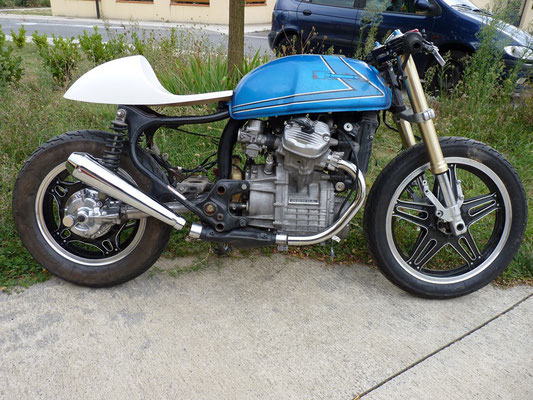
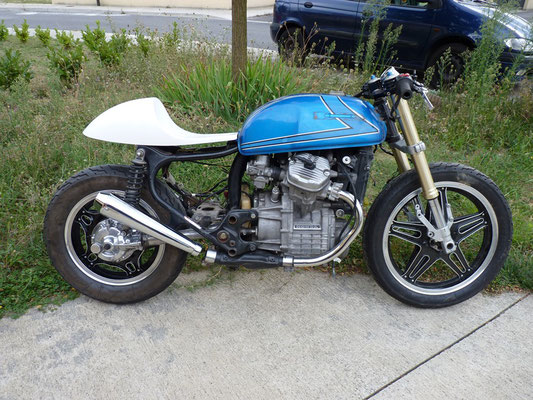
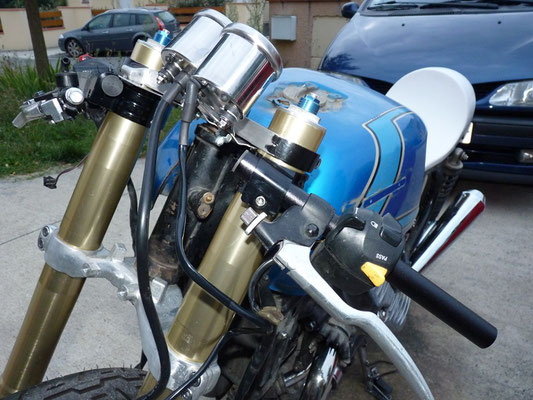
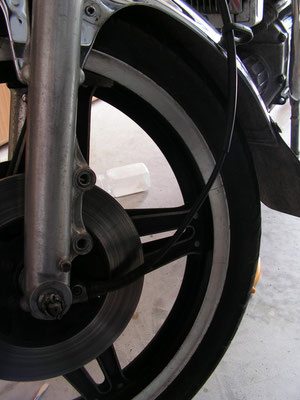
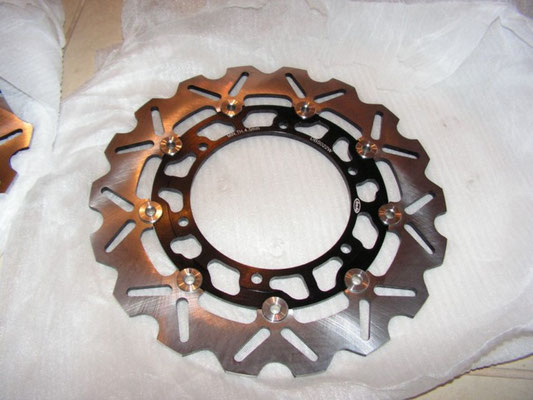
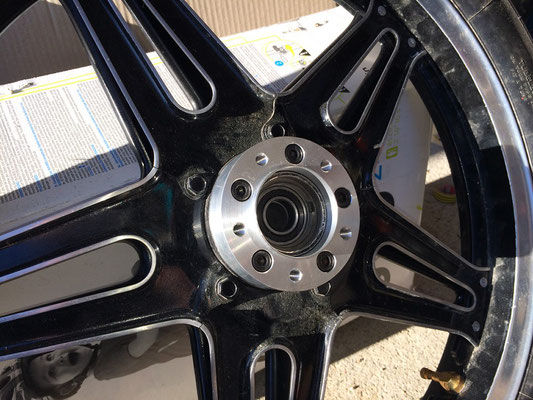
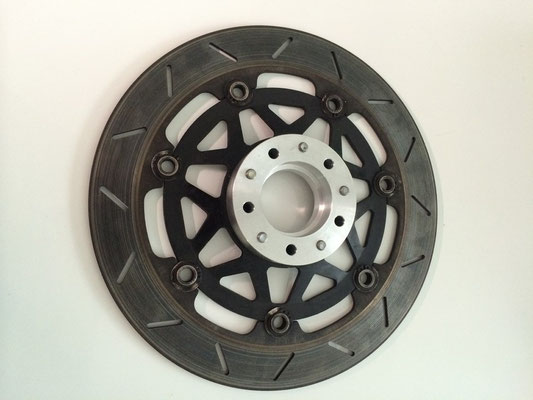
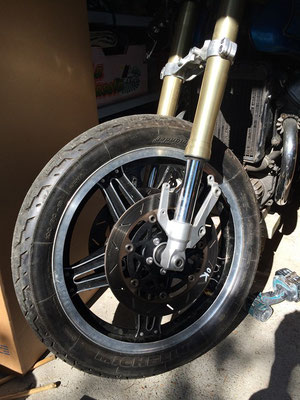
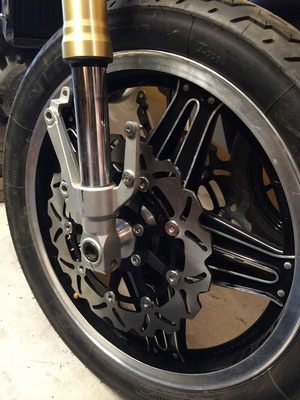
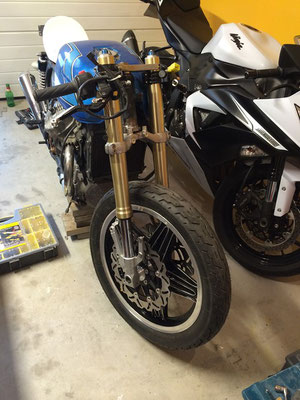
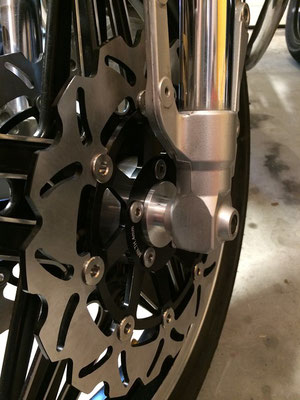
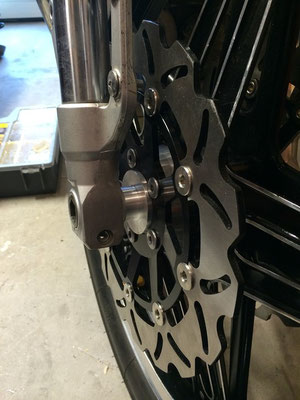
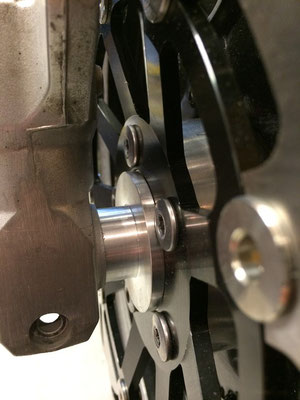
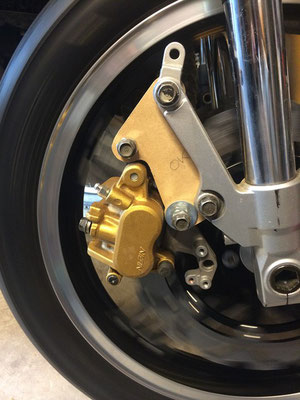
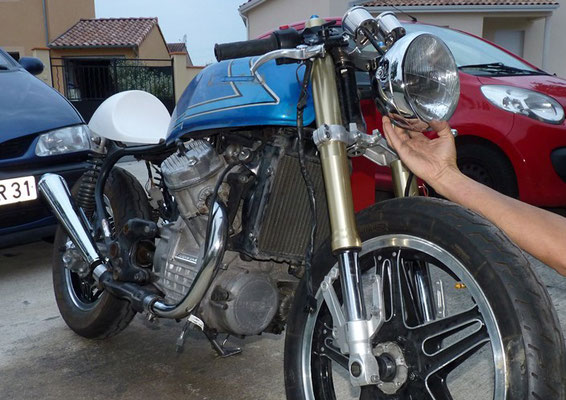
The Fork
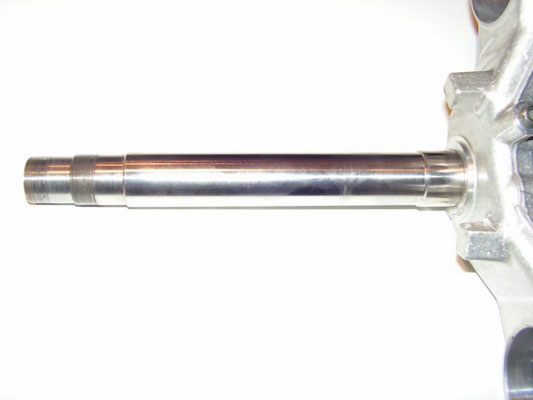
The key point of my project is the fork. I definitively want a R1 fork!!!
Despite the fact that I'll need to rework on the axis direction, I'll have to get to mount the disks and modern brake calipers on the original rims. The original rim is thinner than the R1 rim but actually it's bigger at calipers' position. Modern rims are large but their batons are thin and the R1 calipers goes far on the inside of the rim.
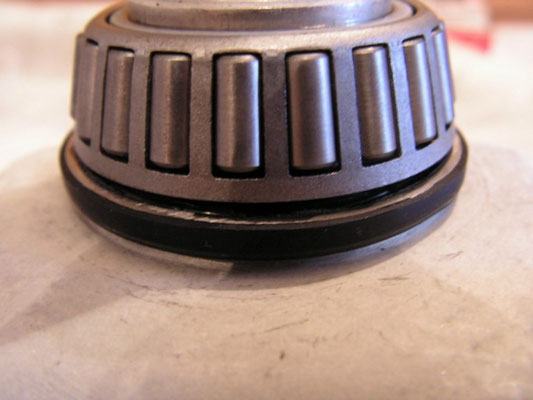
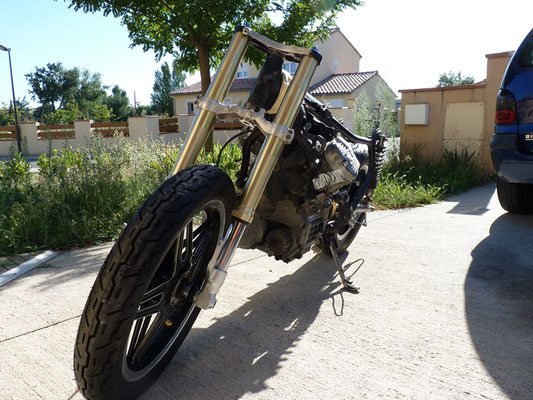
I begin with a sketch on my white board fixed in my workshop with the measurements of the 2 bikes. After the extraction of the R1's axis from the fork T I have make machined the new axis with a shouldering on its lower part for better safety. Then I've replaced the ball bearings and adapted the dust cover.
ALl these parts went very well on the frame... Coooooolll...
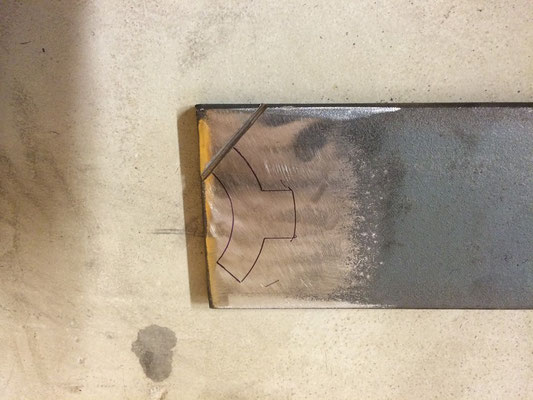
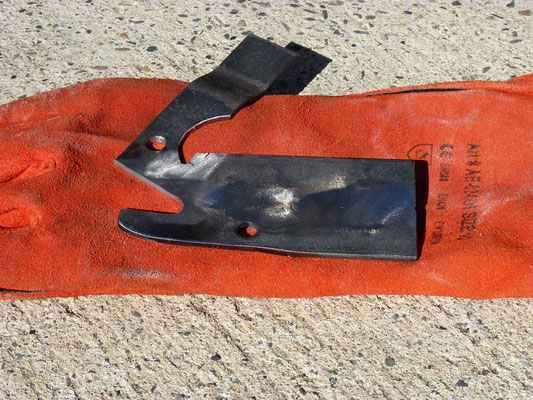
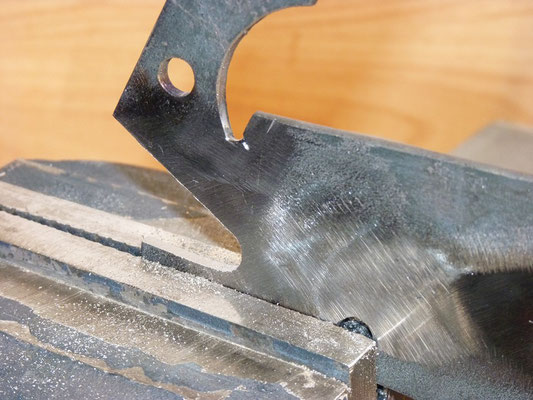
Now I "only" need a new direction stop to avoid dents on the fuel tank and we're all done...
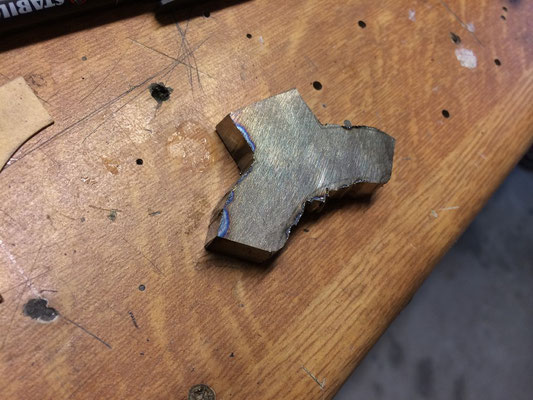
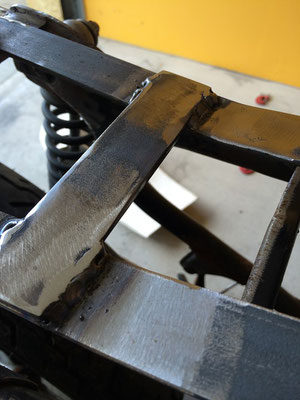
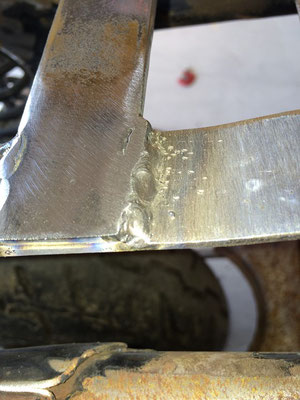
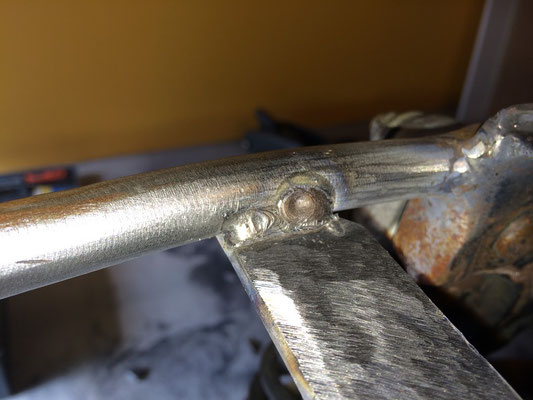
I cut and braze; It's my first braze so of course it's hellish but the result is good enough for me.


Check Point
In progress

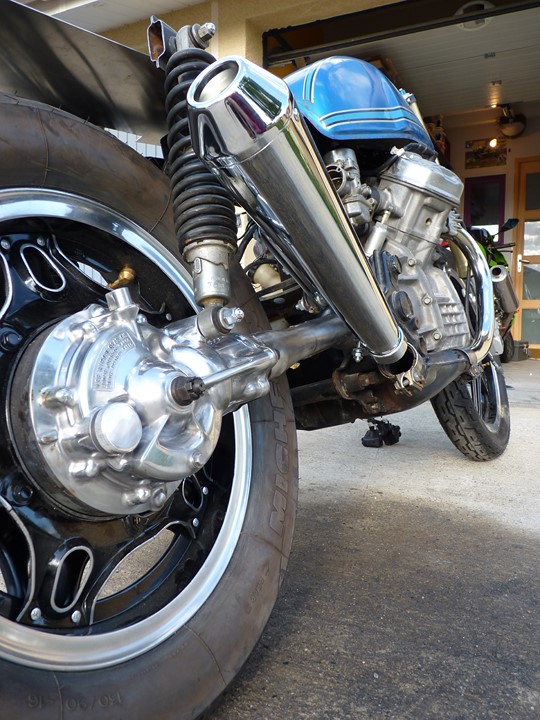
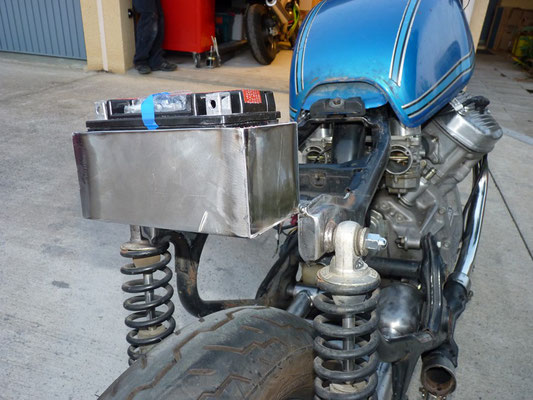
The Exhausts
In progress
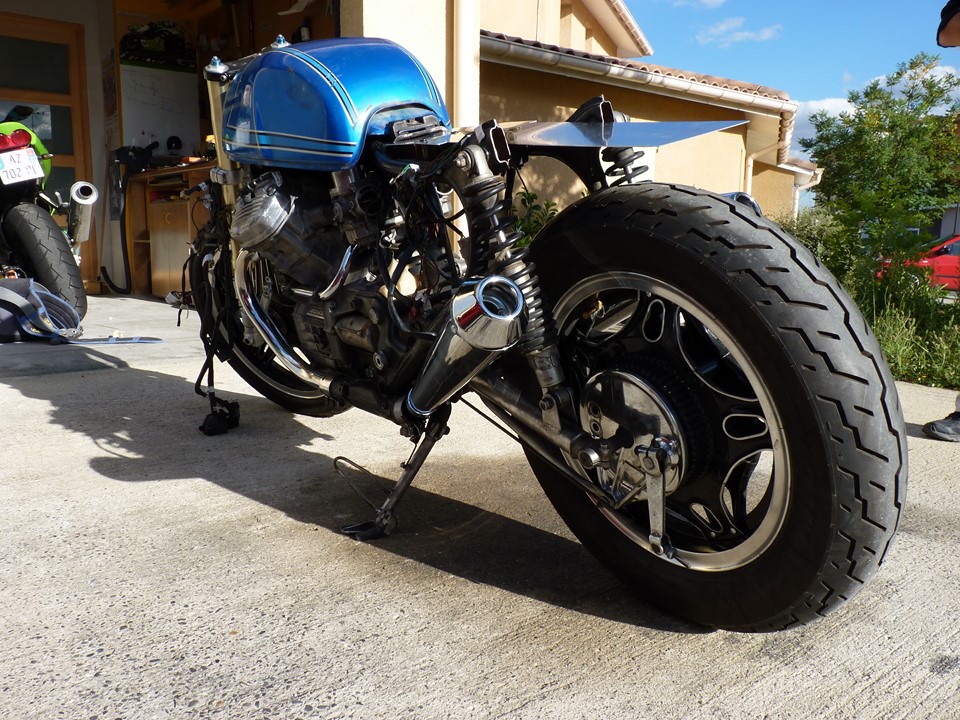
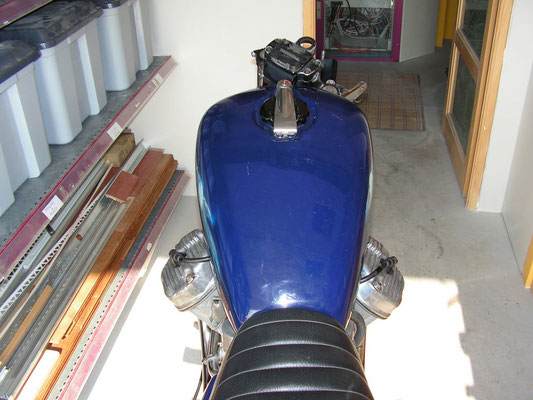
The Tank
In progress
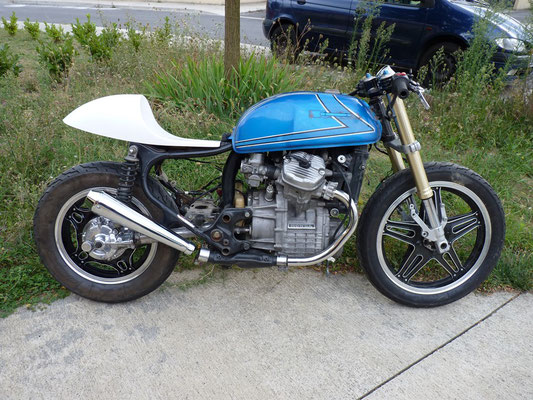
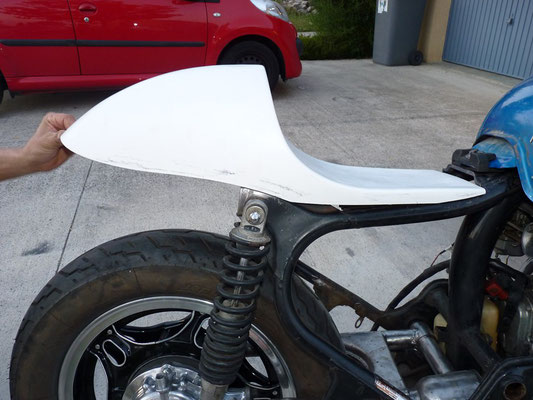
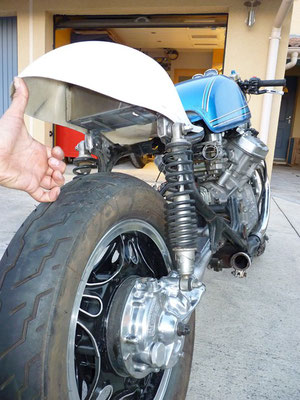
The Back Cover
In progress
The back buckle
In progress
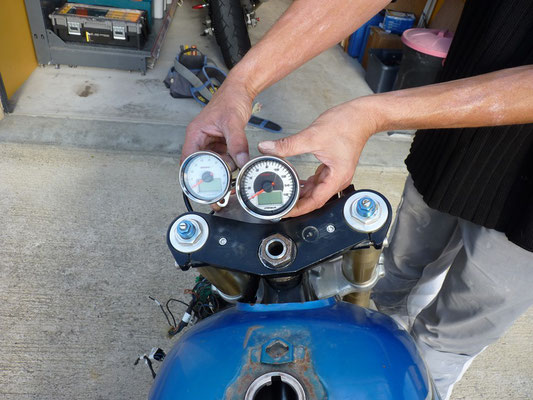
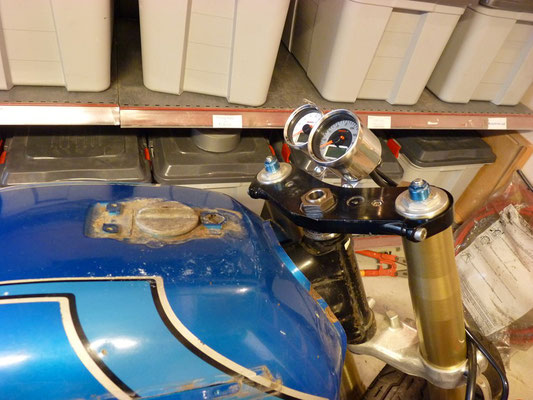
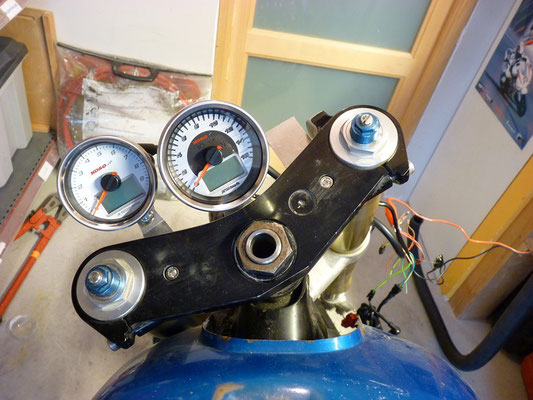
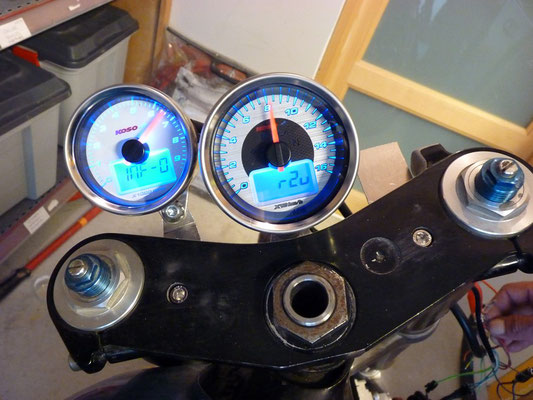
The speedometers
In progress
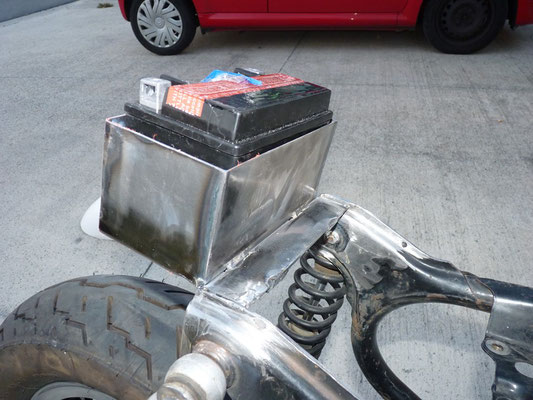
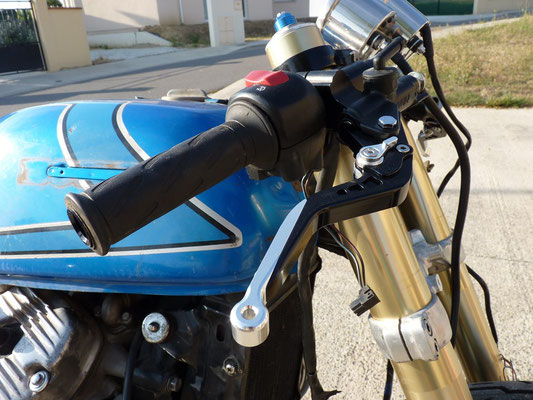
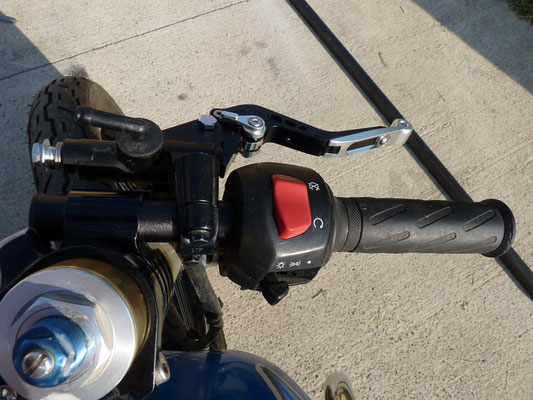
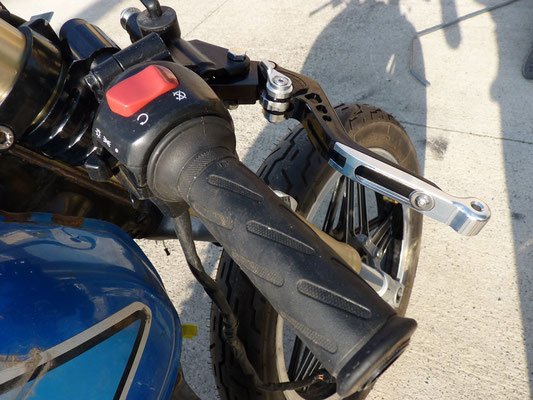
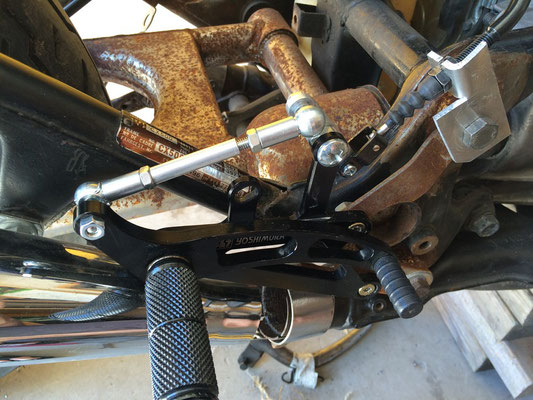
Commands
In progress
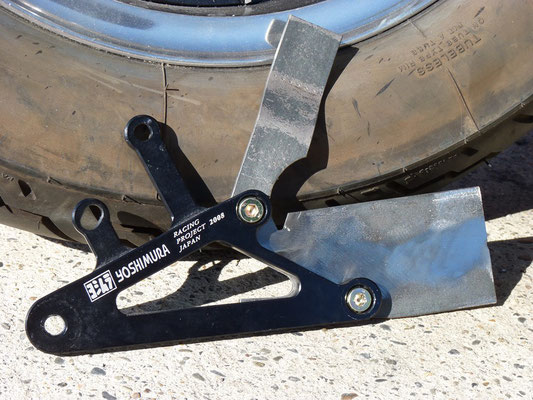
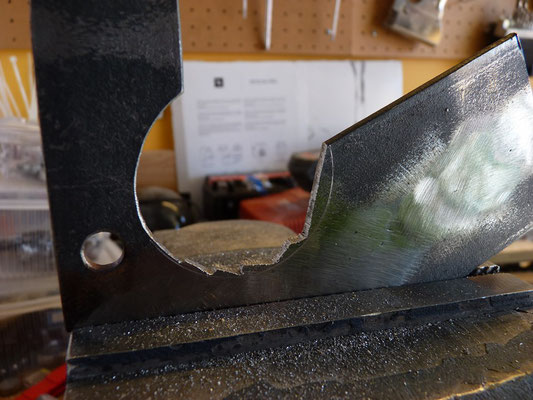

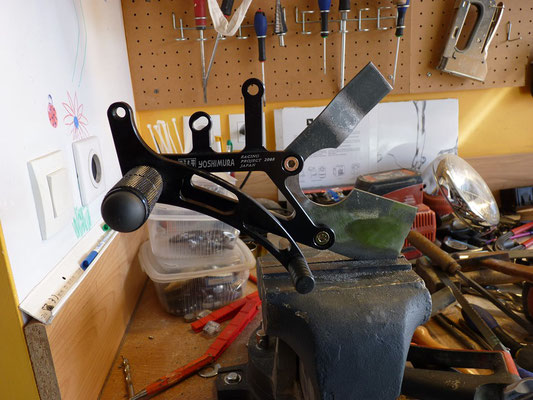
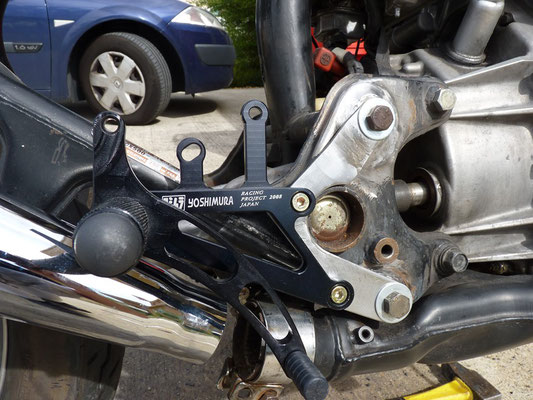
In progress
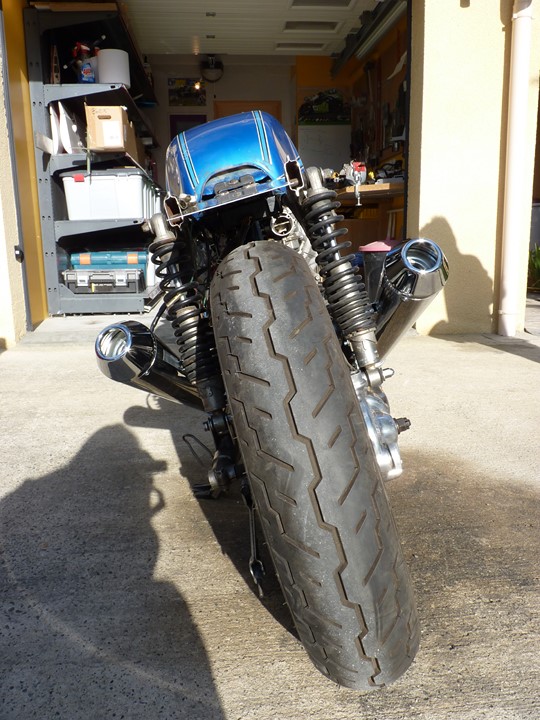
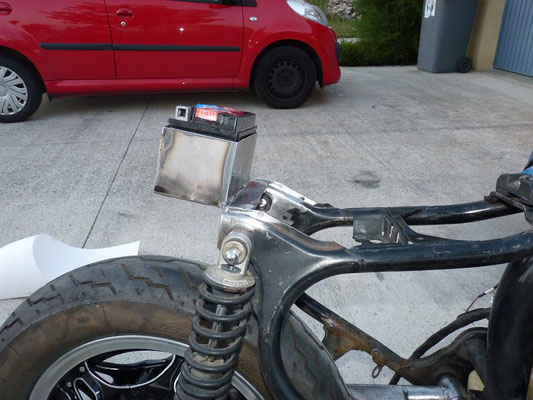
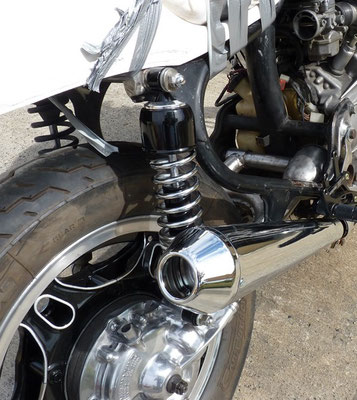
The Shock absorbers
In progress

Braking System
In progress

In progress

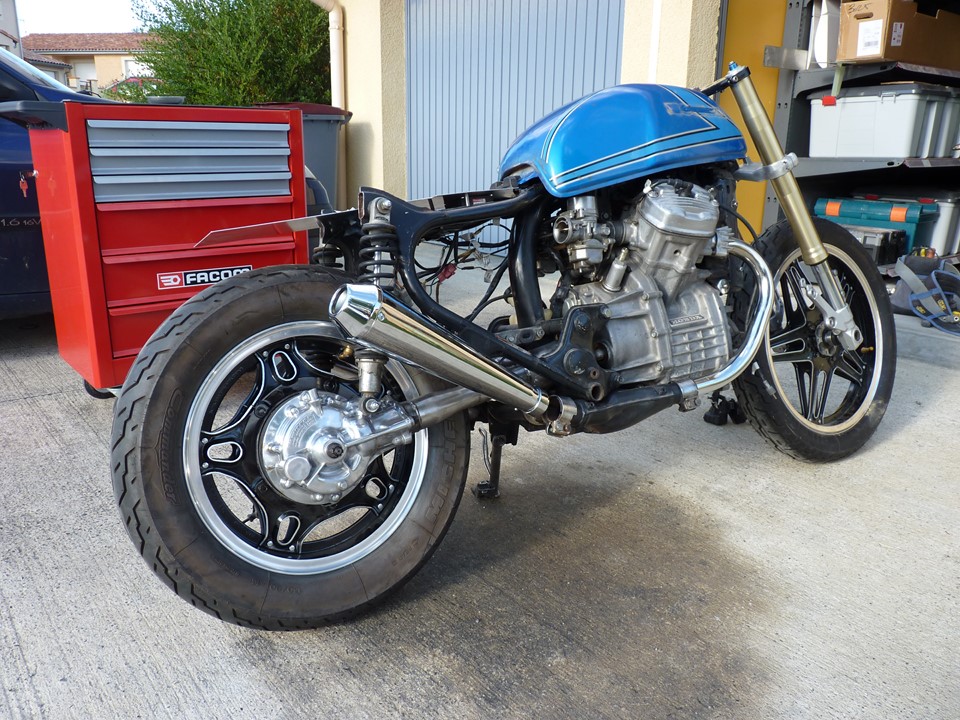
The Headlight
I have found on the internet a headlight I like, It will be more or less aligned with the fuel tank to keep a low and straight line, The difficulty will be to find the right bracket at the correct fork diametre.

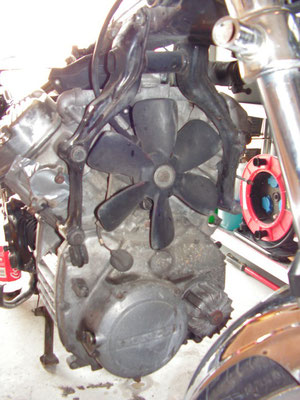
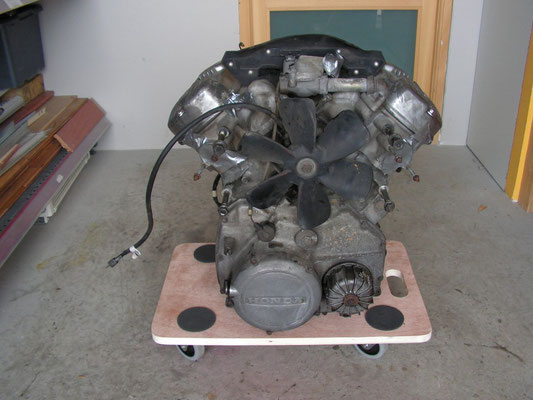
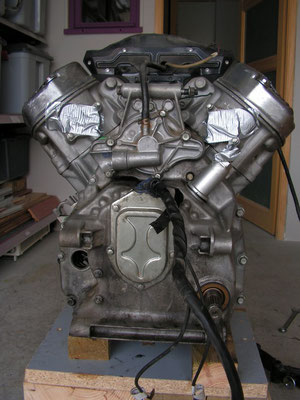
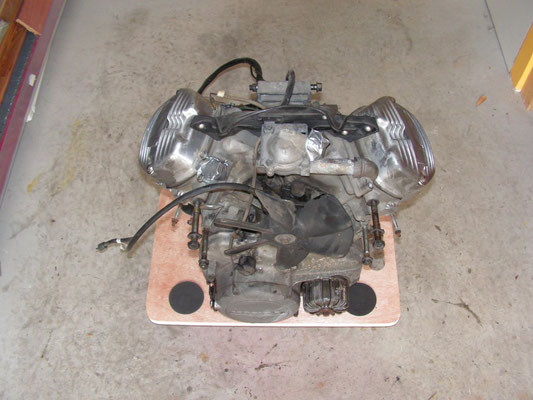
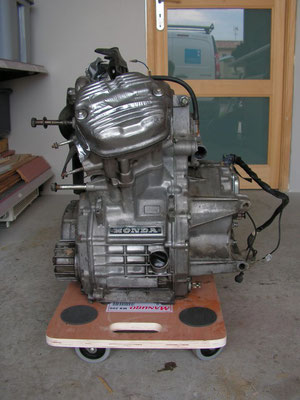
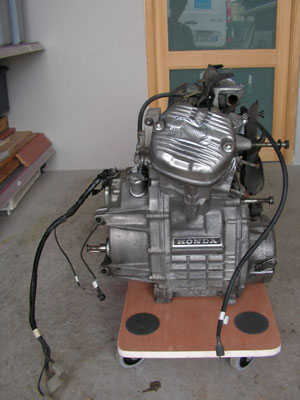
The Engine
In progress


Giving up
At this point I almost don't work at all on the project, I no longer have time and I have other hobbies that take up space and cost money.
I had the opportunity to sell the motorbike to someone who restore motorbikes et who will potentially finish the project. And even if the fact that I had to separate myself from the Honda on which put so much of my energy breaks my heart, it's the feeling of defeat that bothers me more.